This article will be a quick write-up of reflashing with open source firmware and installing of the Xbox HD+ HDMI board into the original
Xbox console. Any images on this page can be clicked to open the full resolution photo.
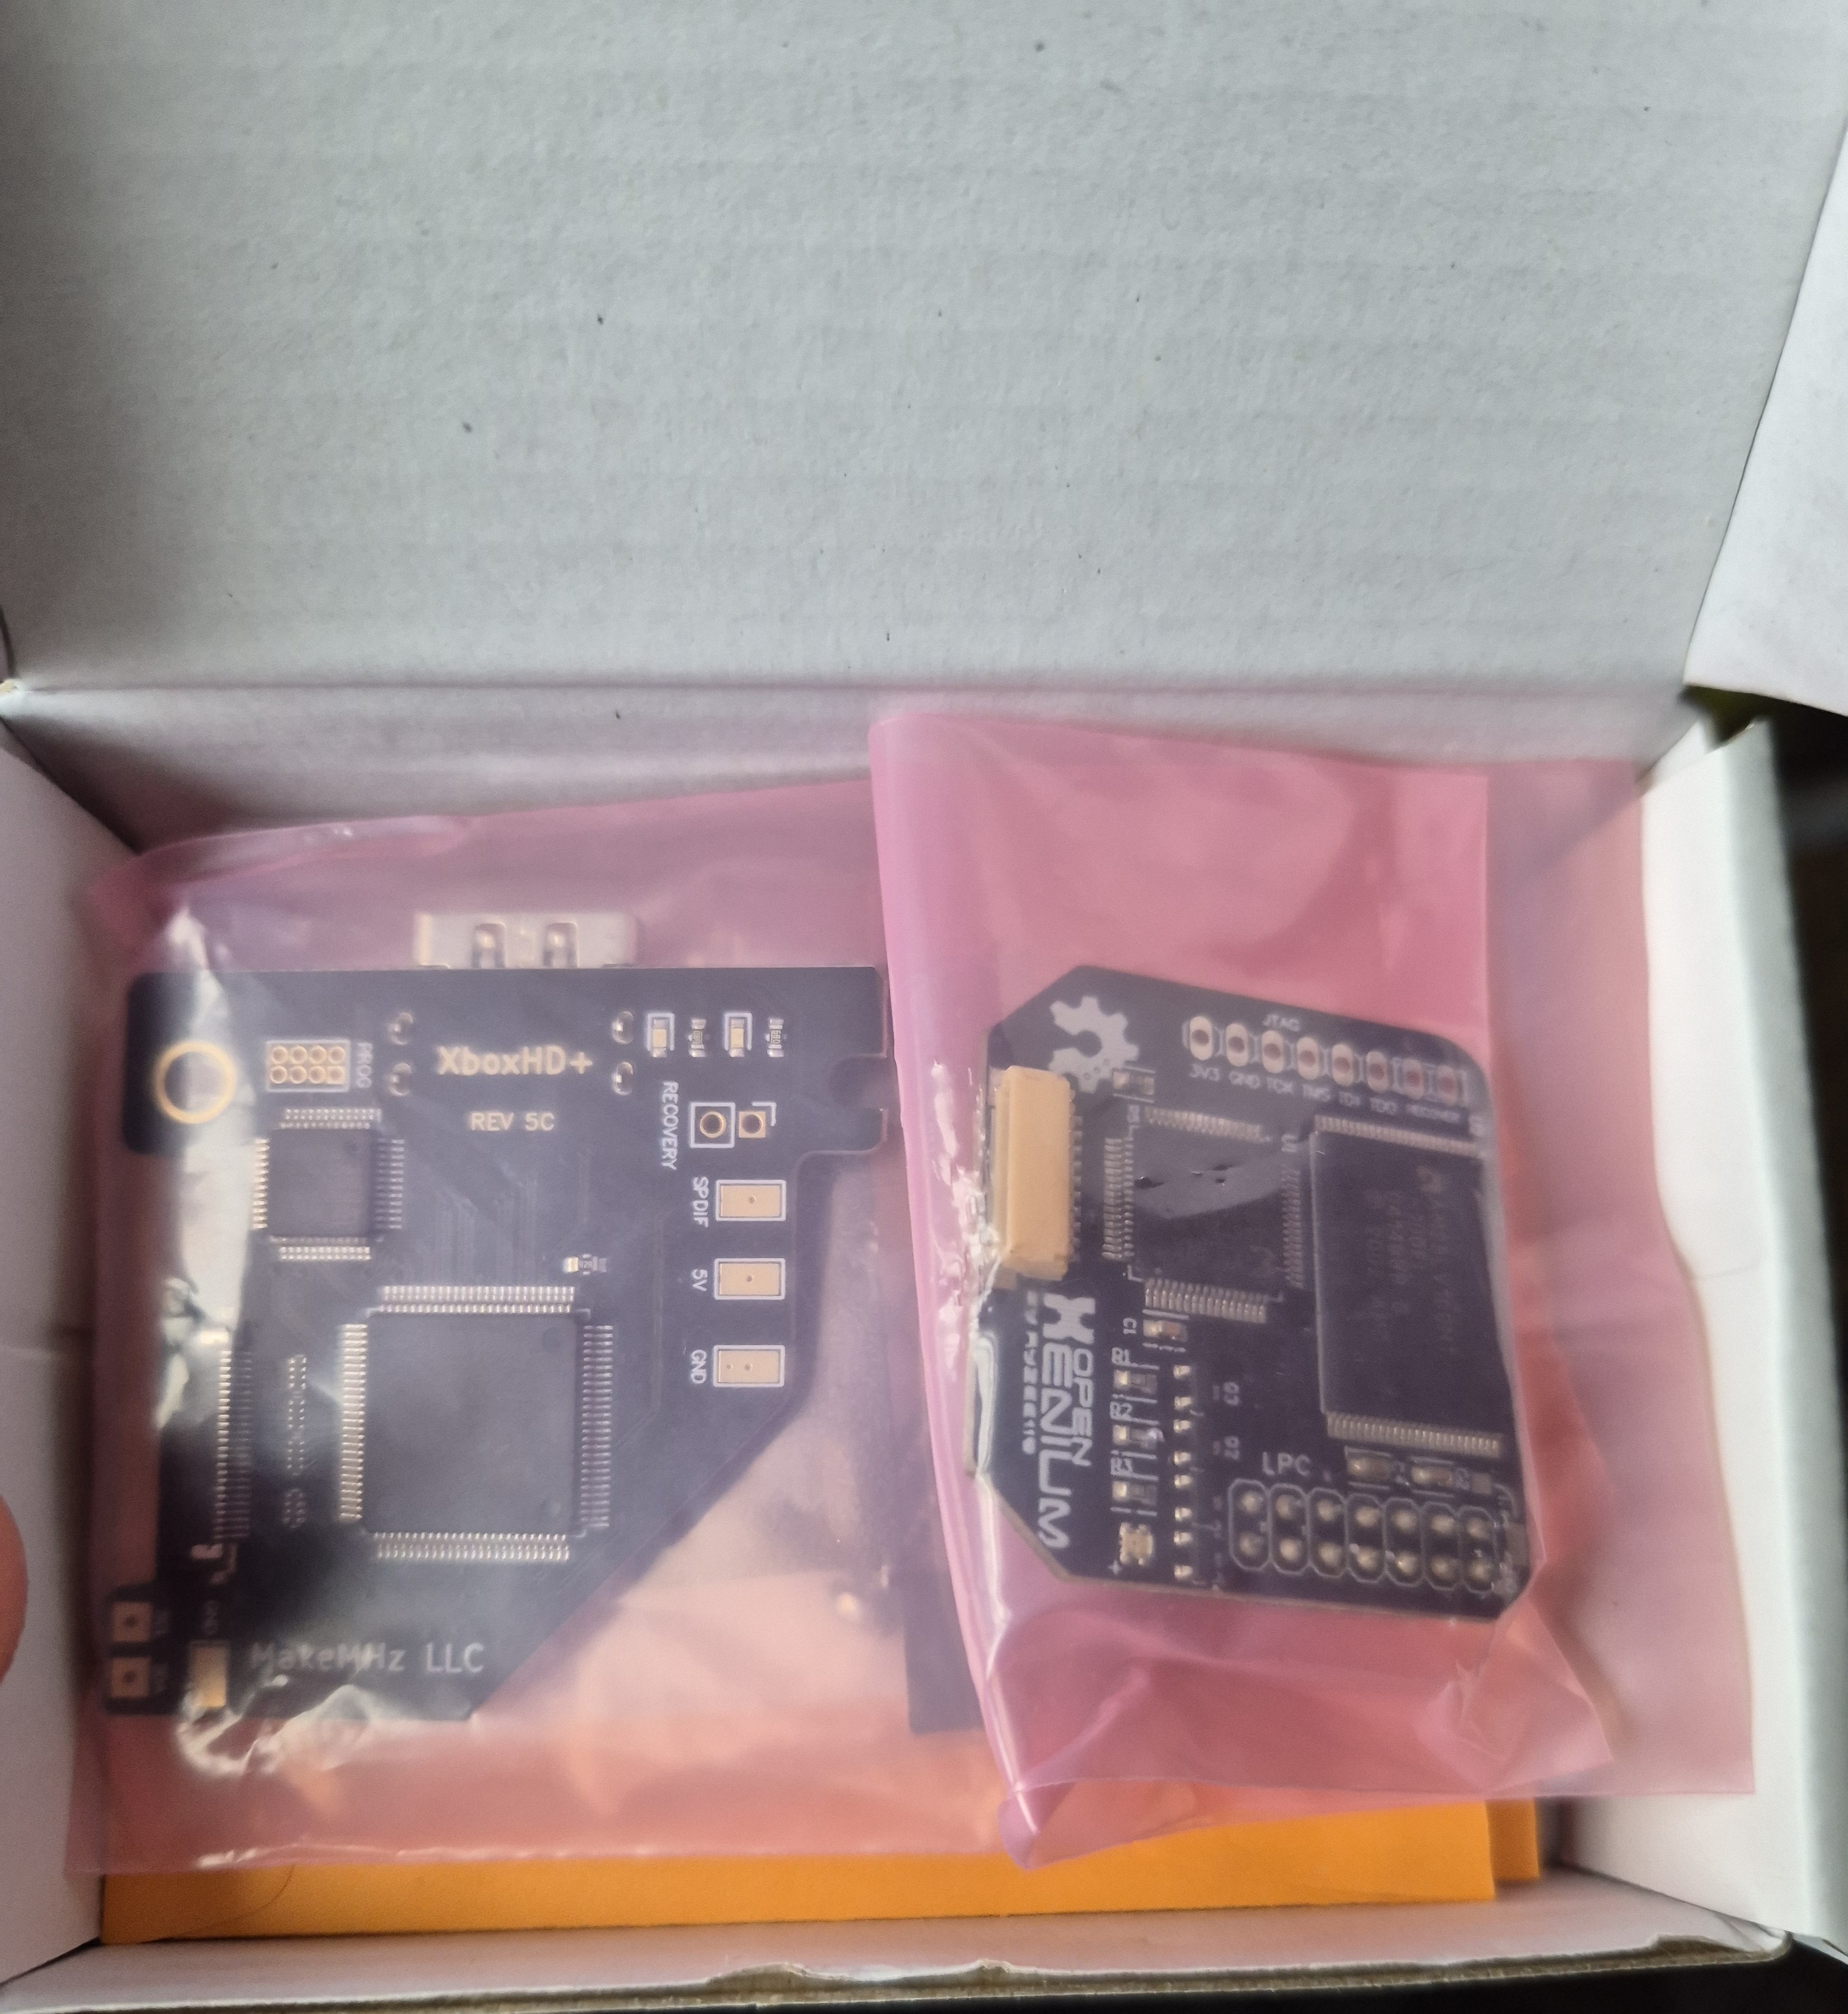
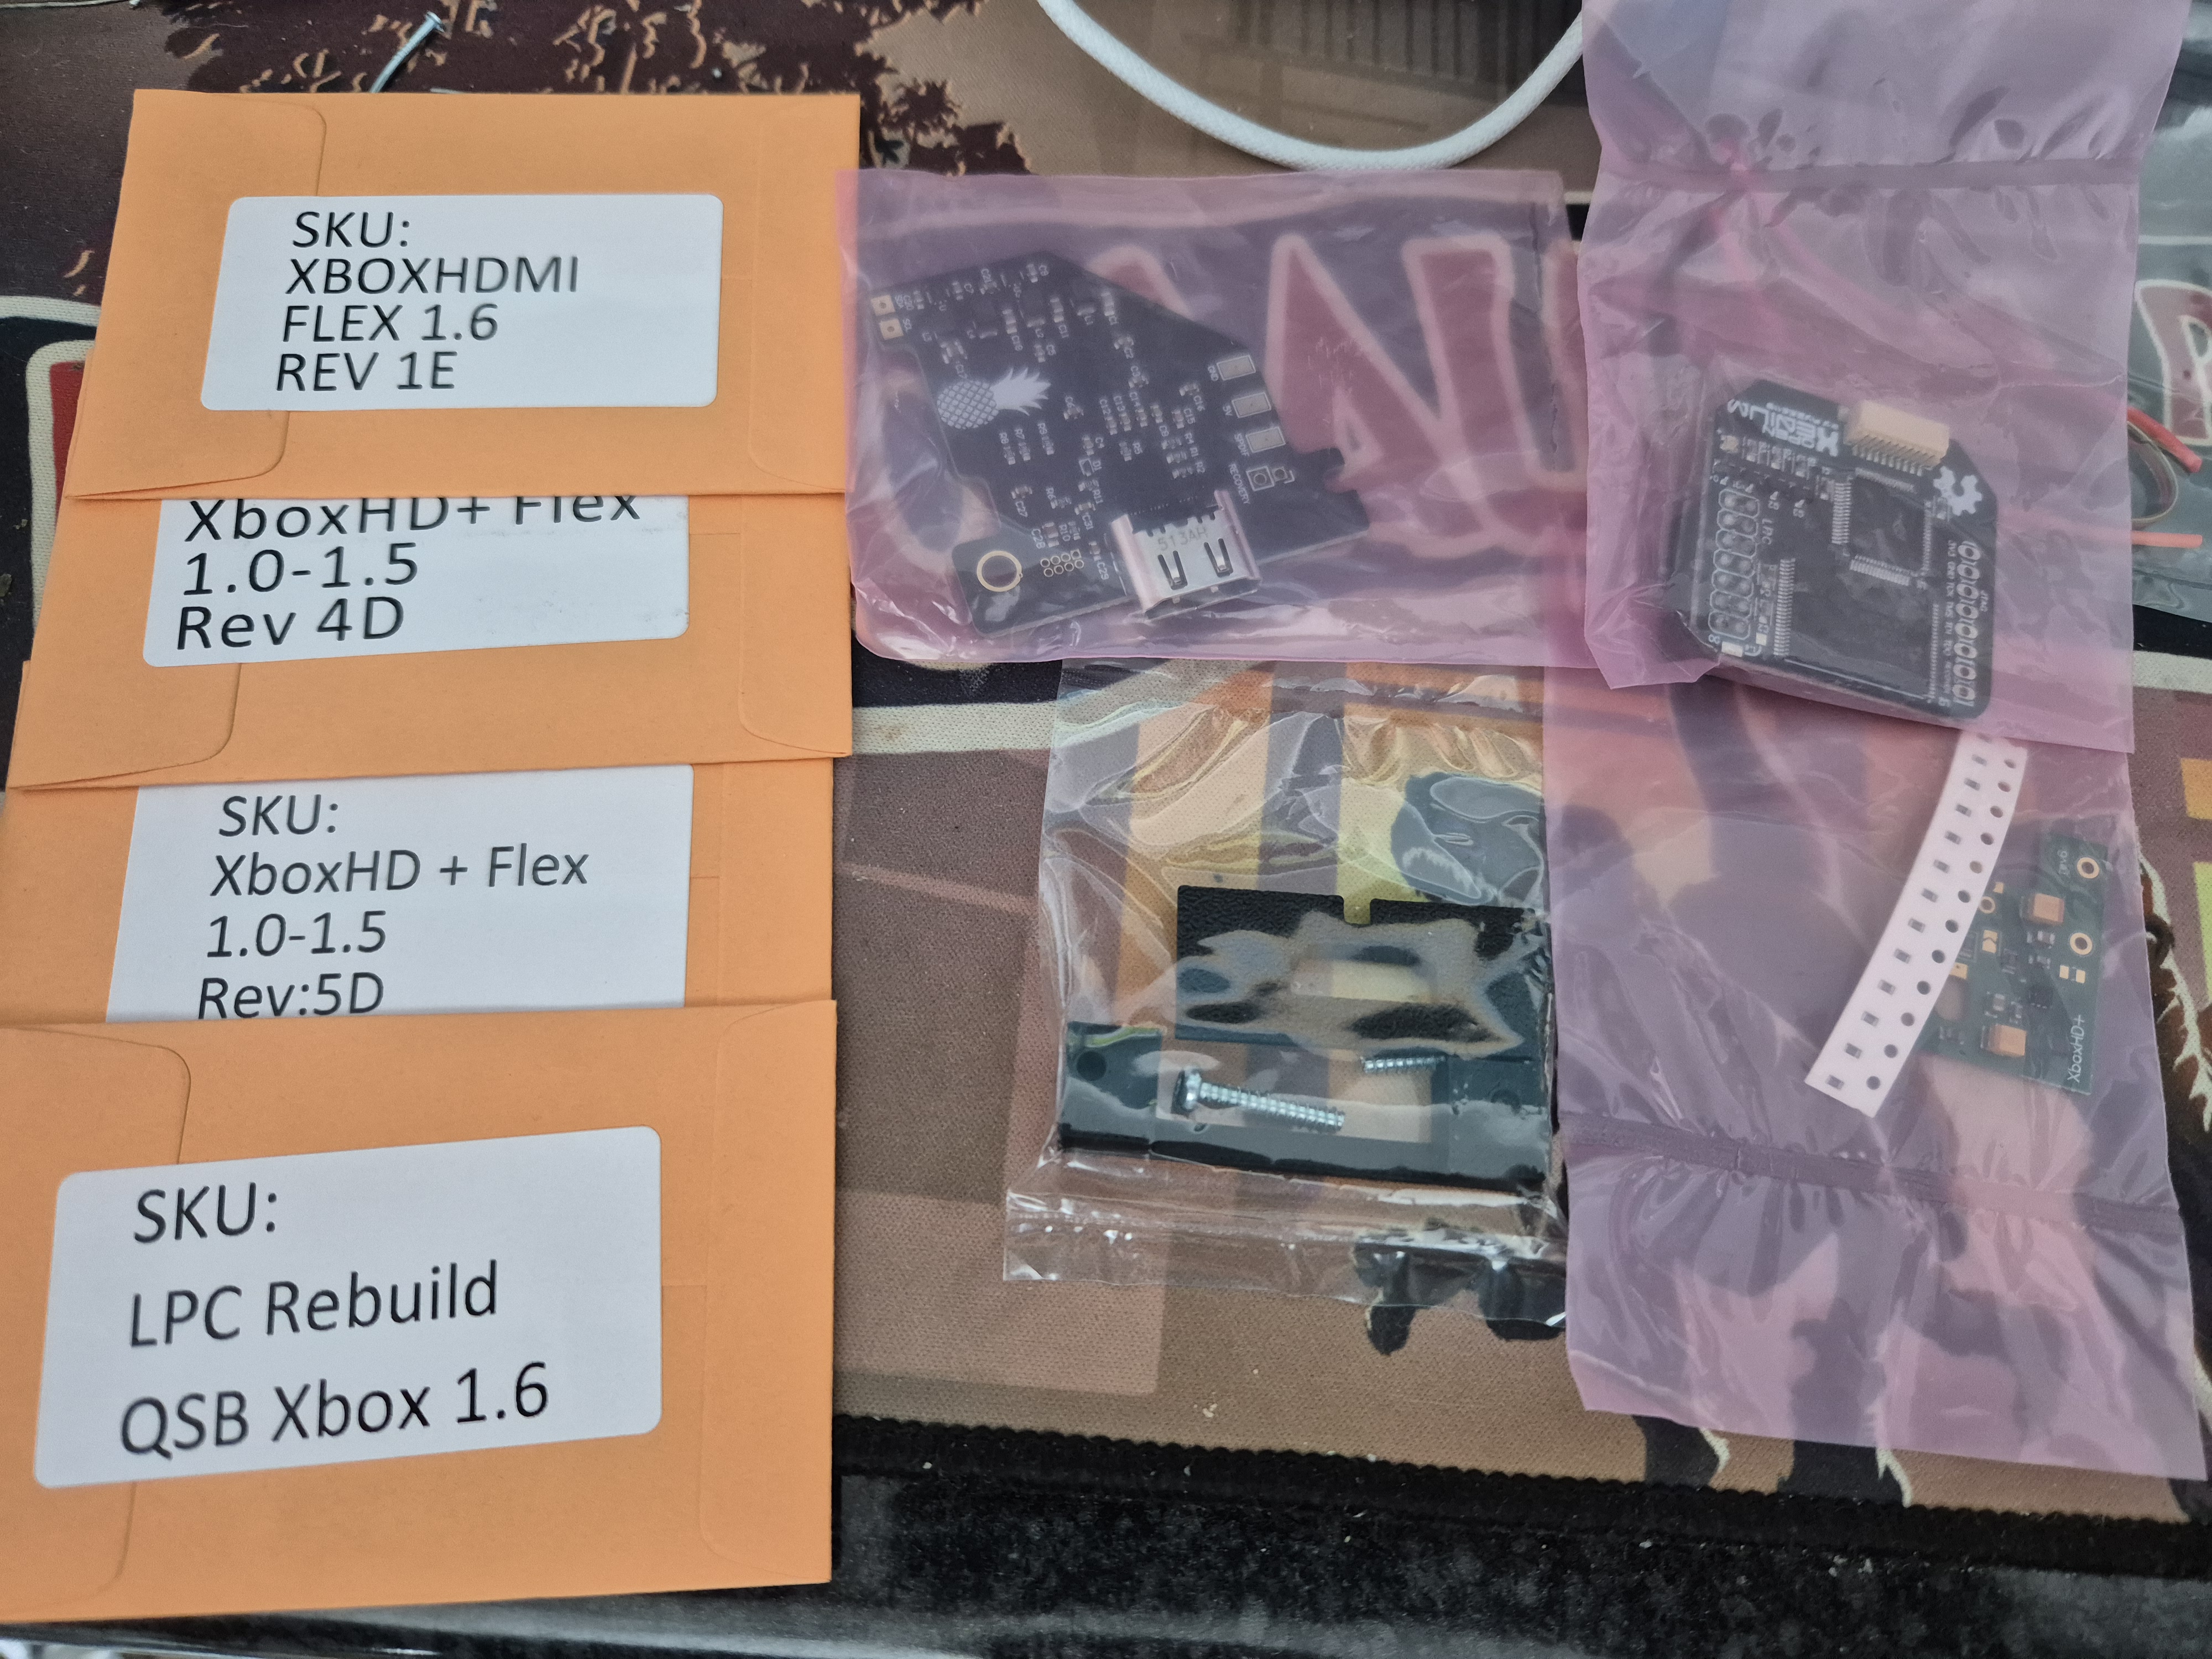
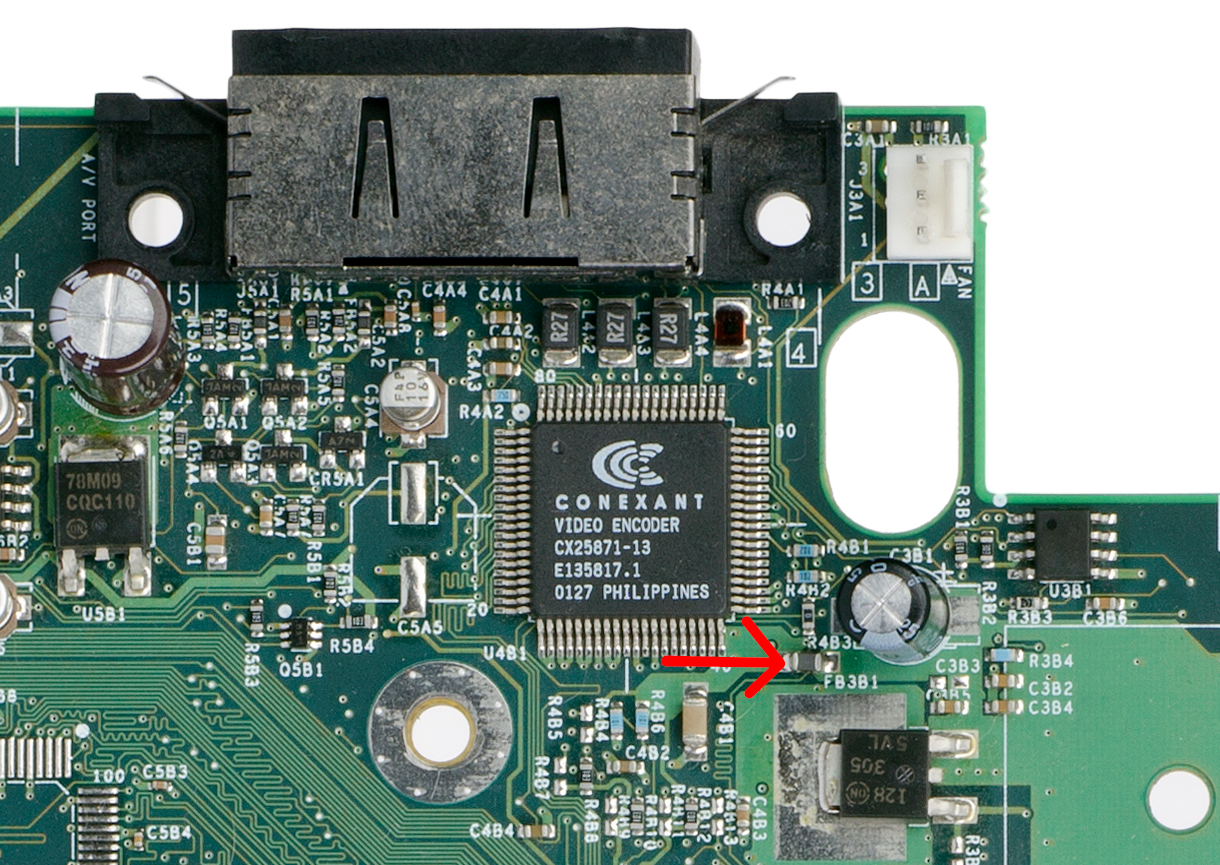
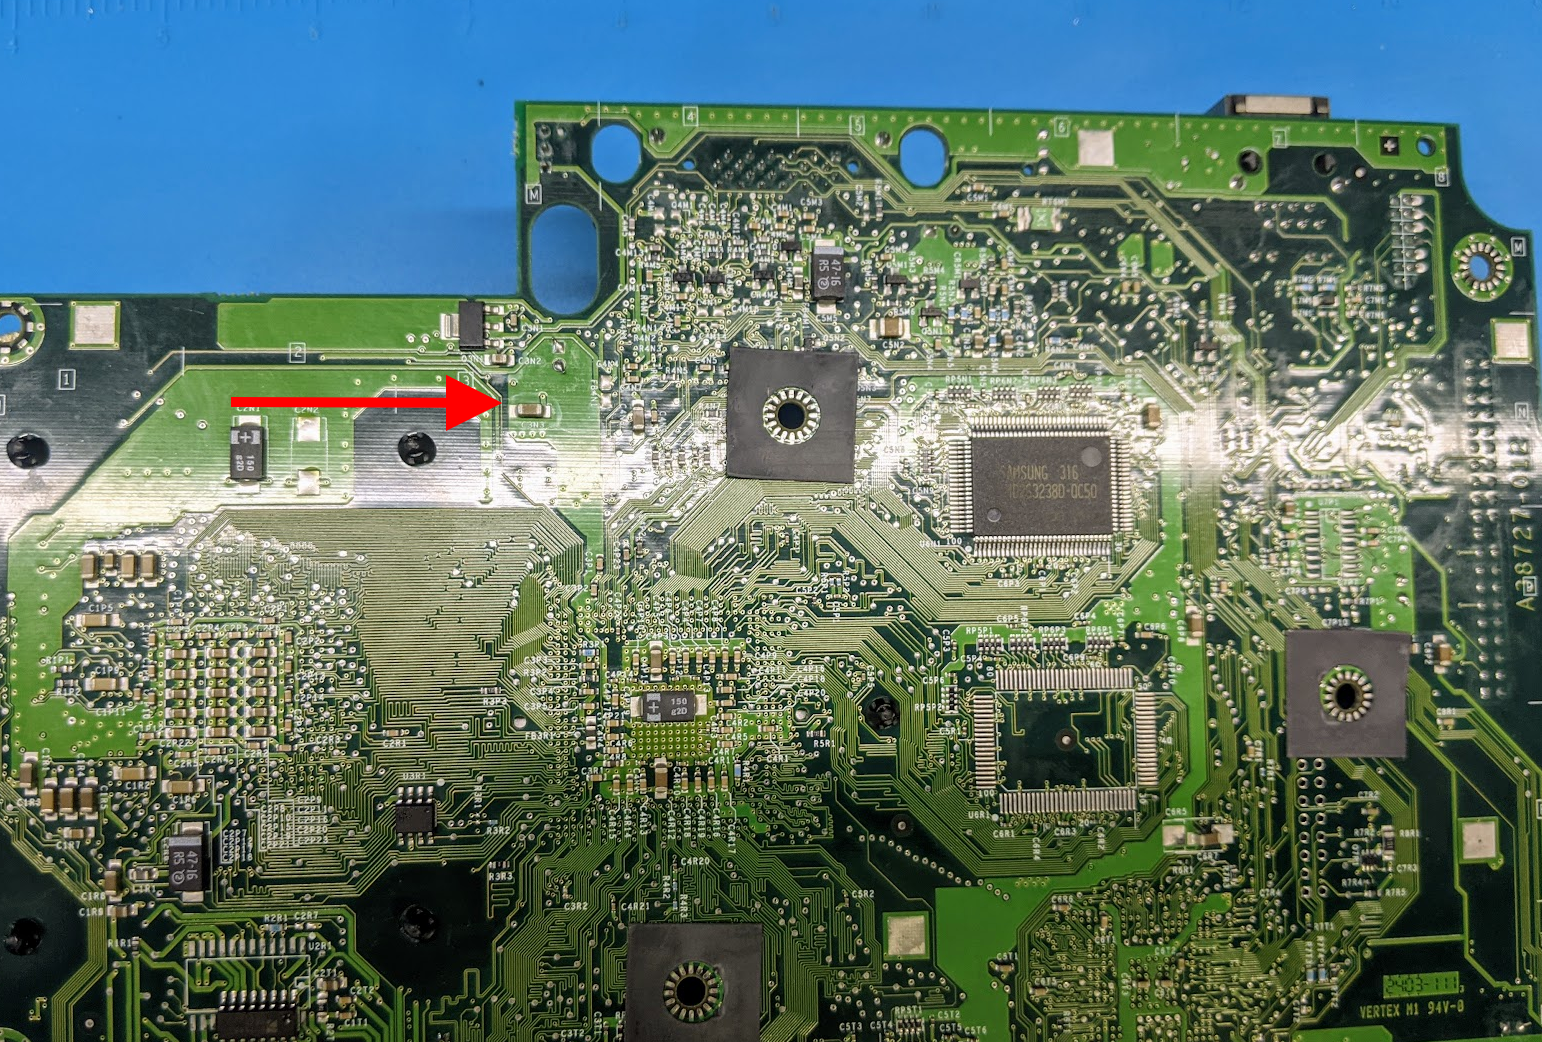
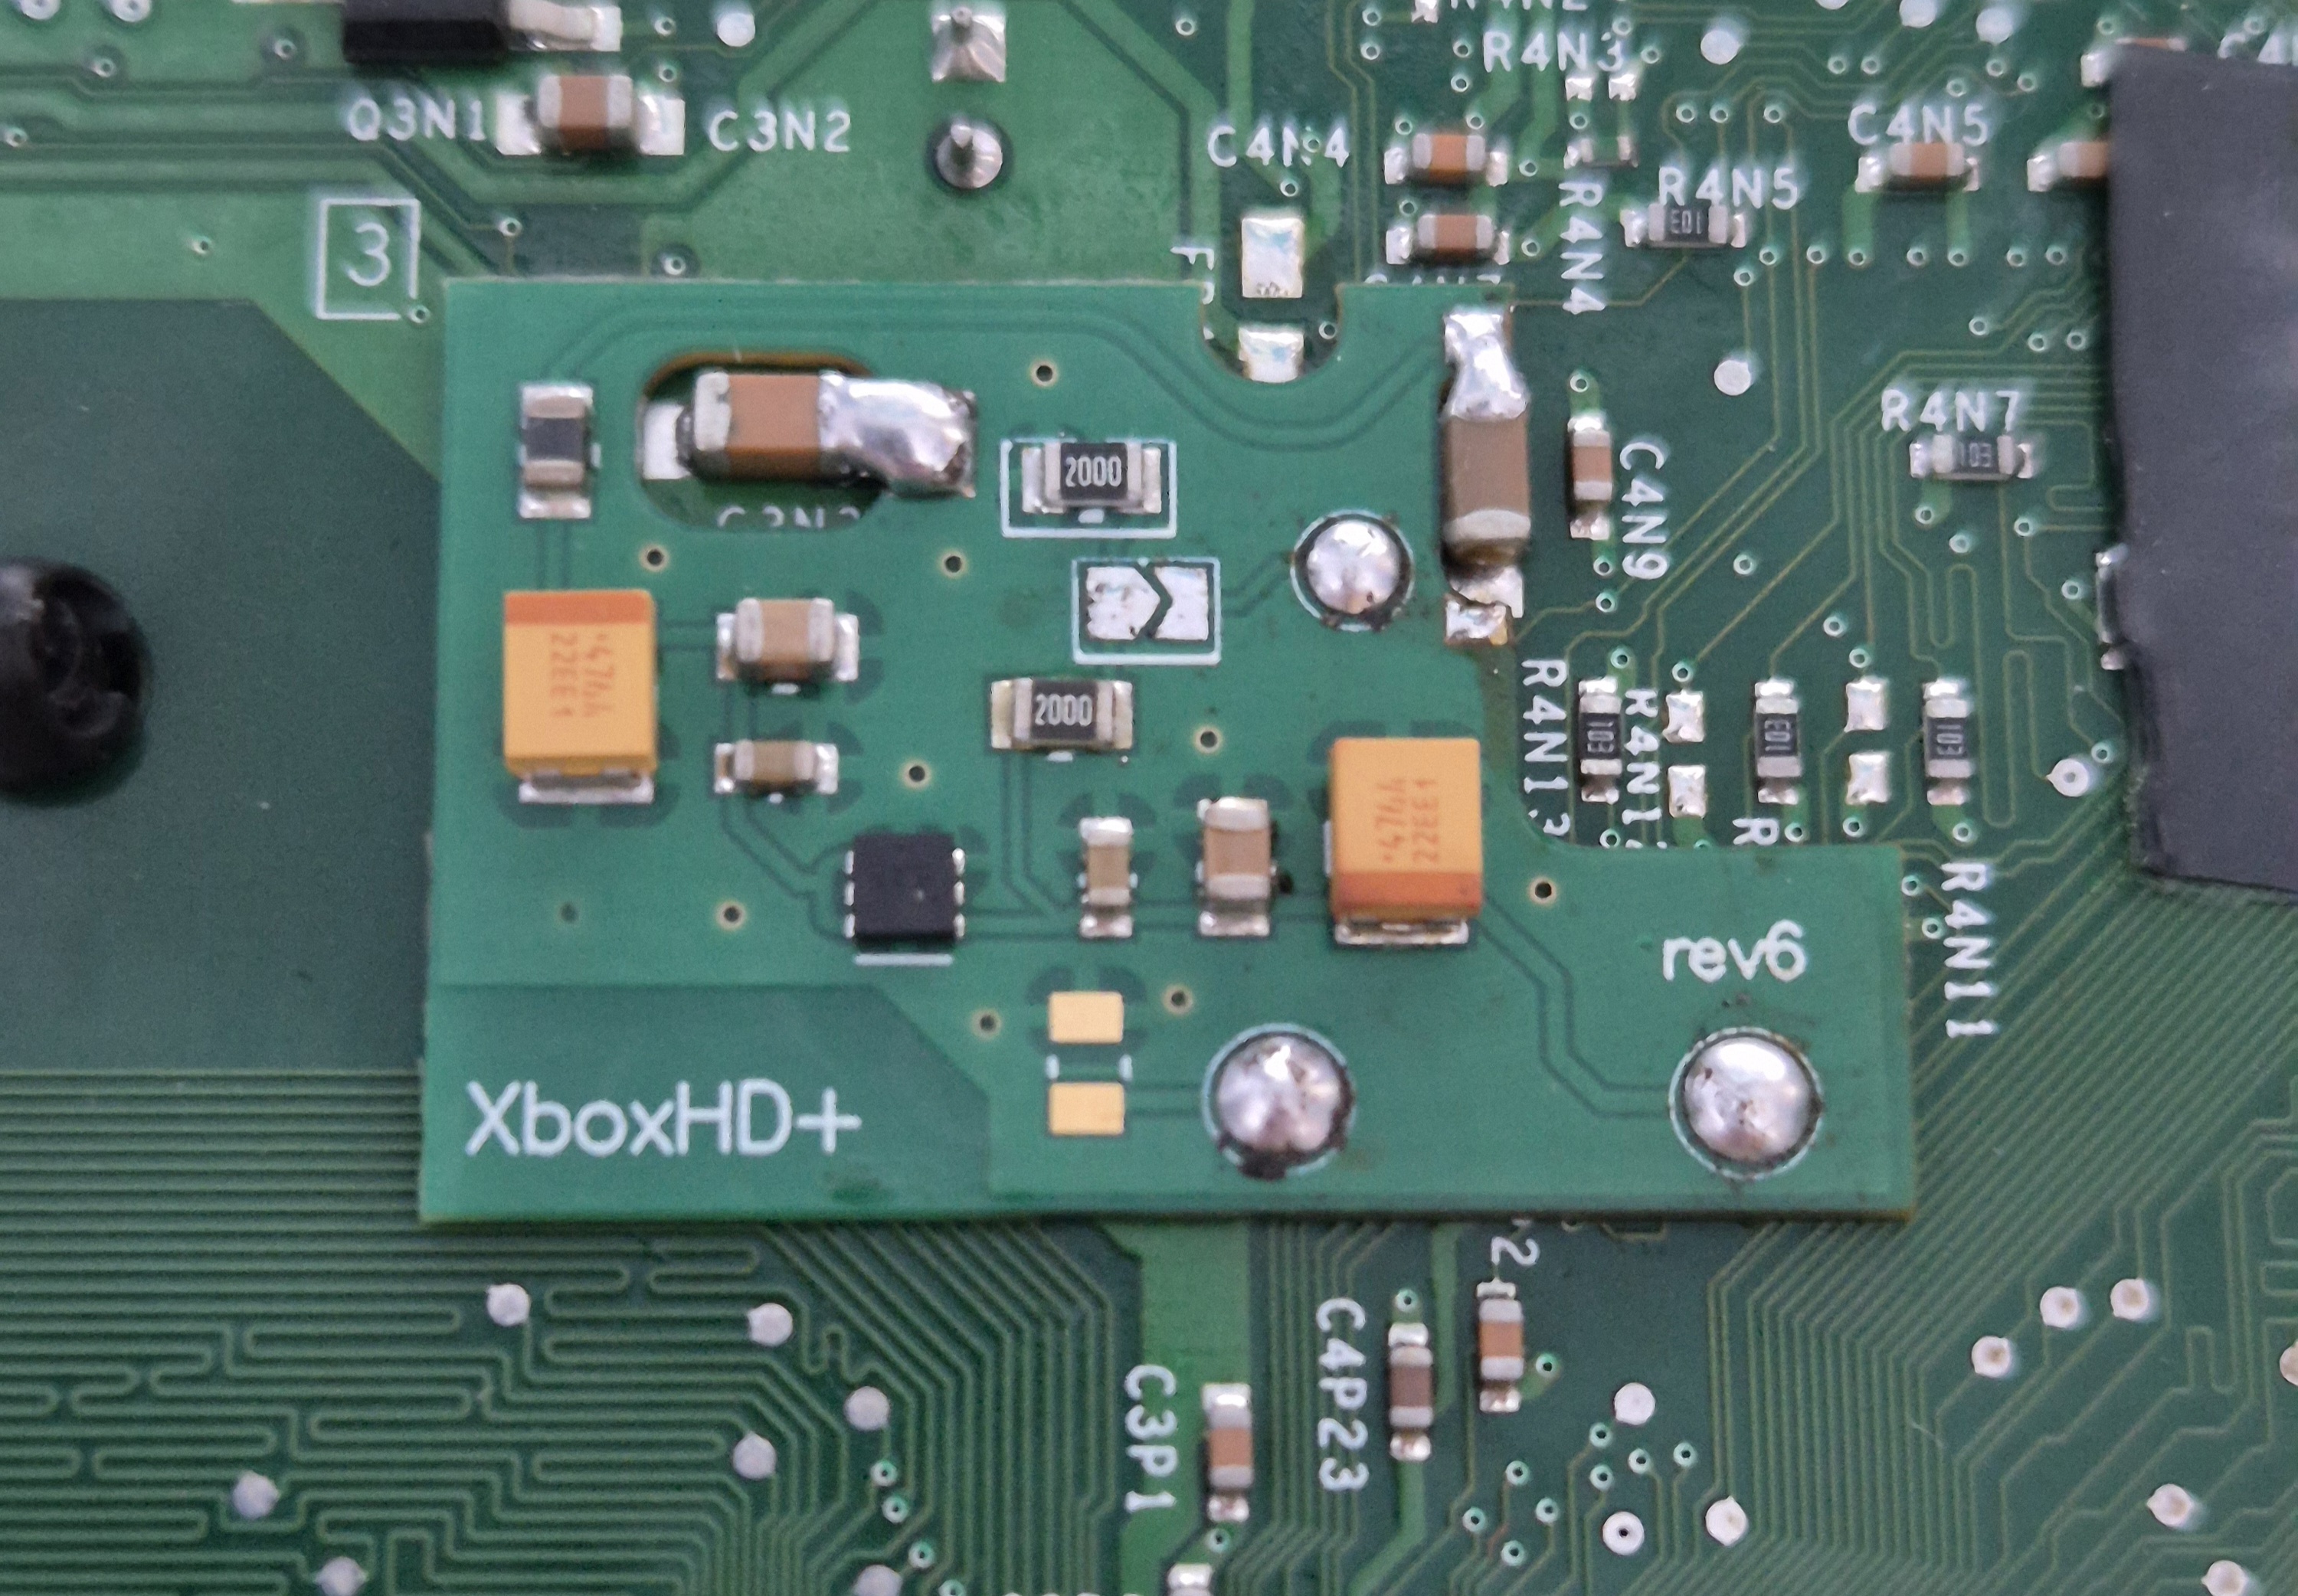
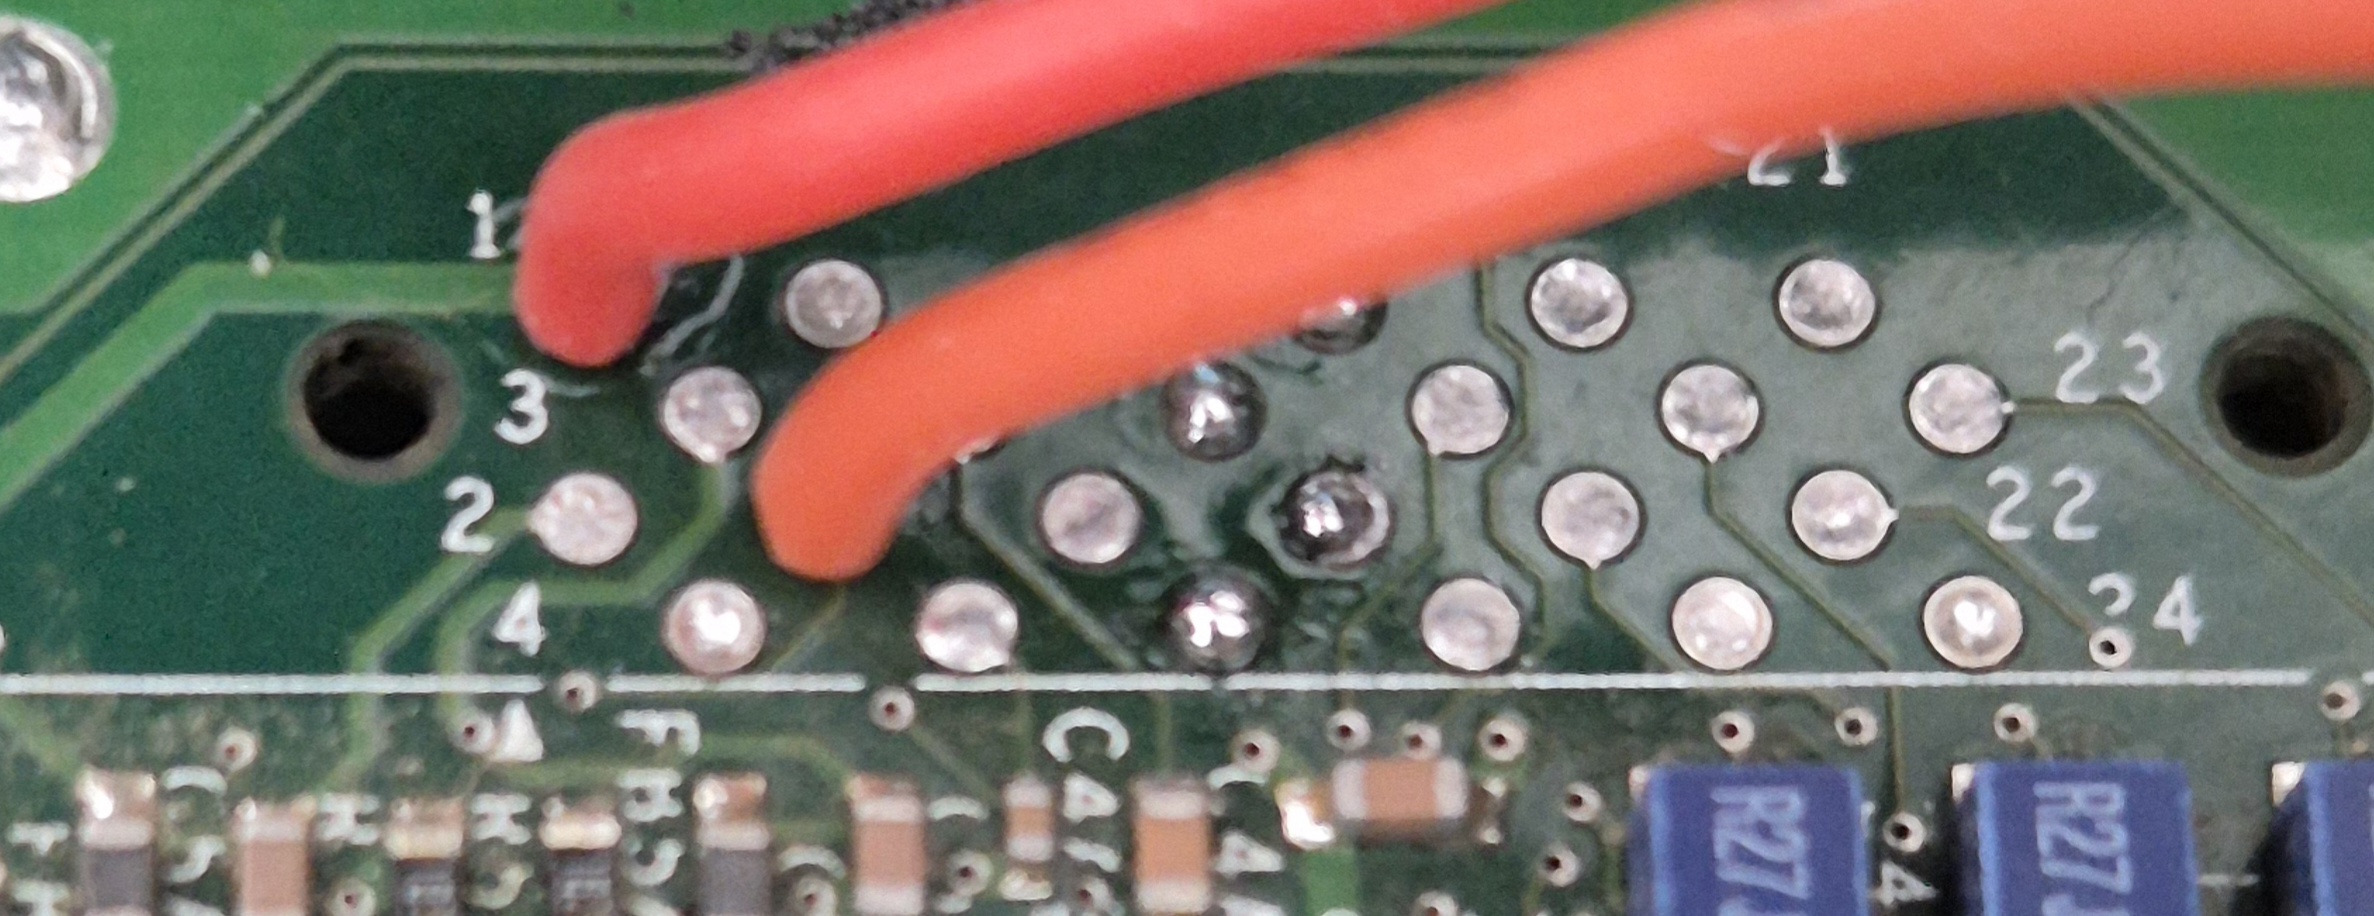
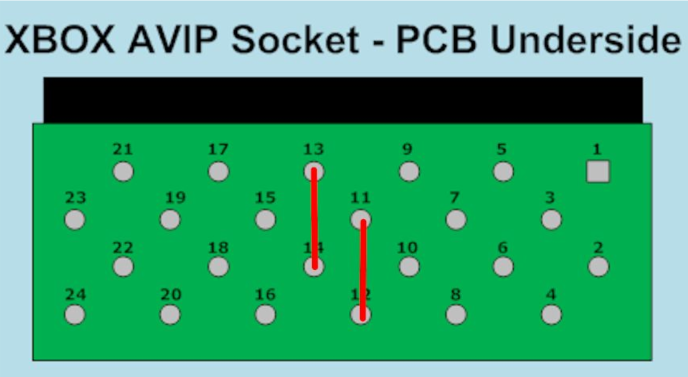
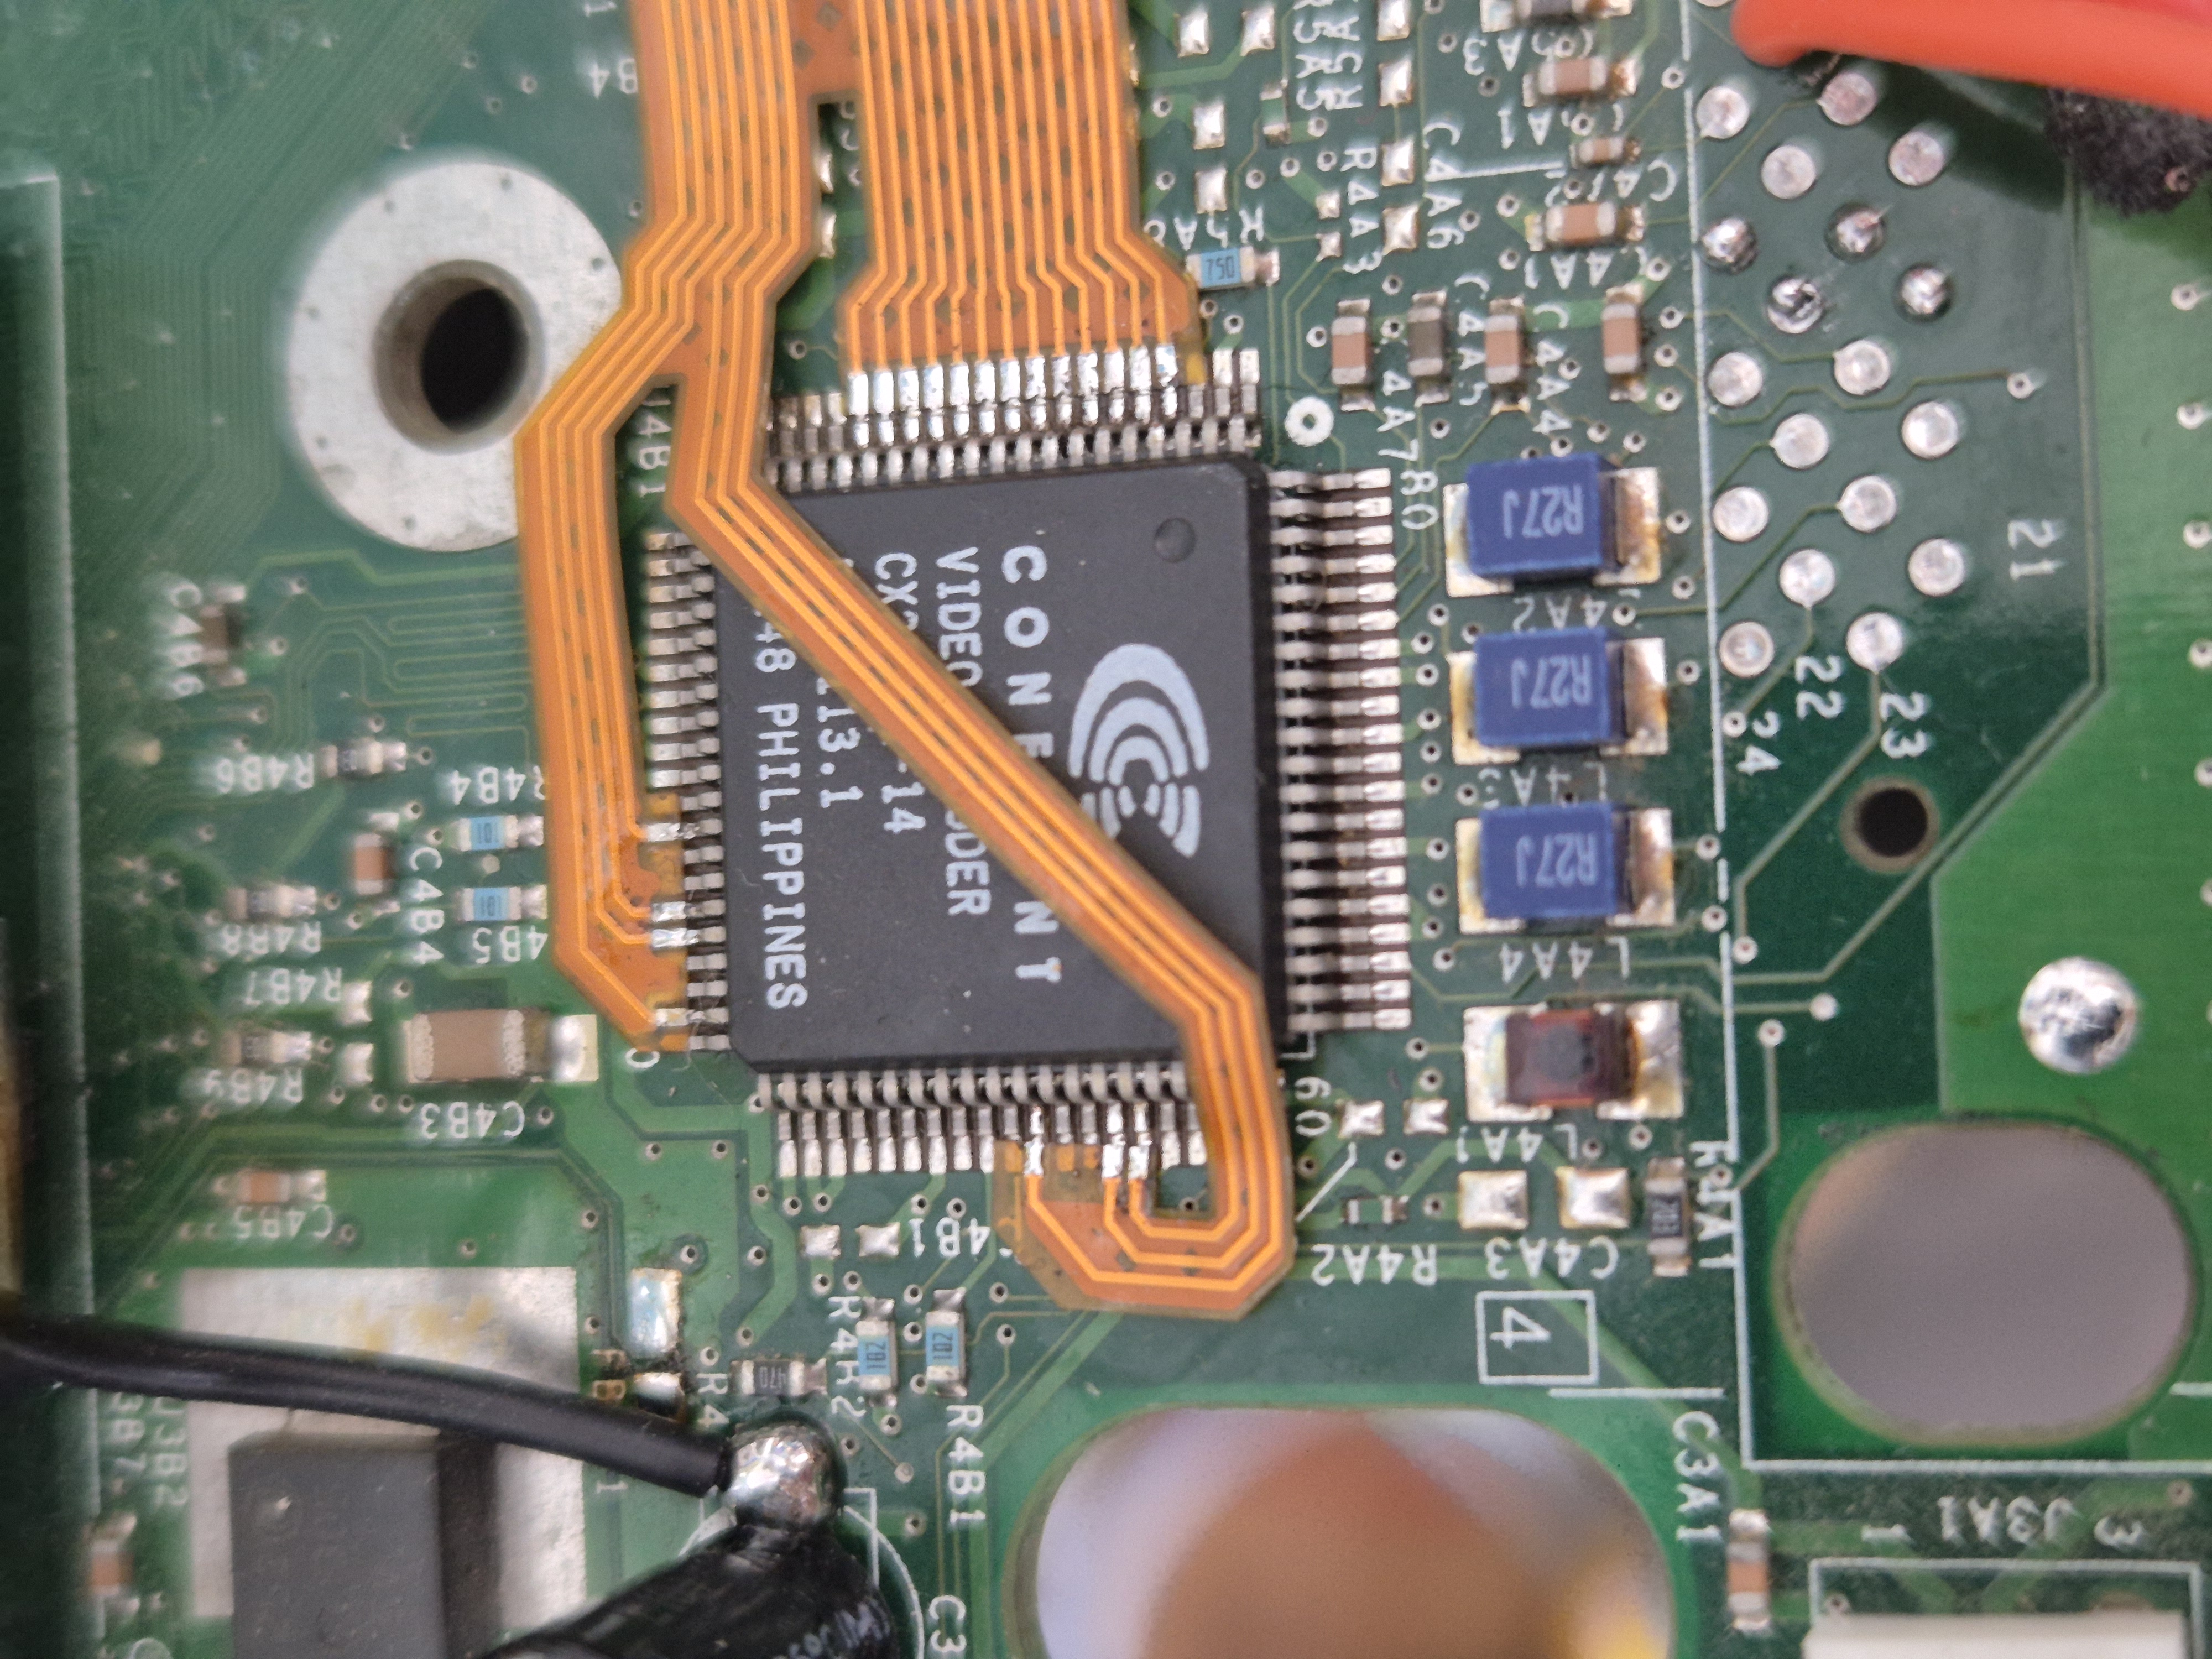
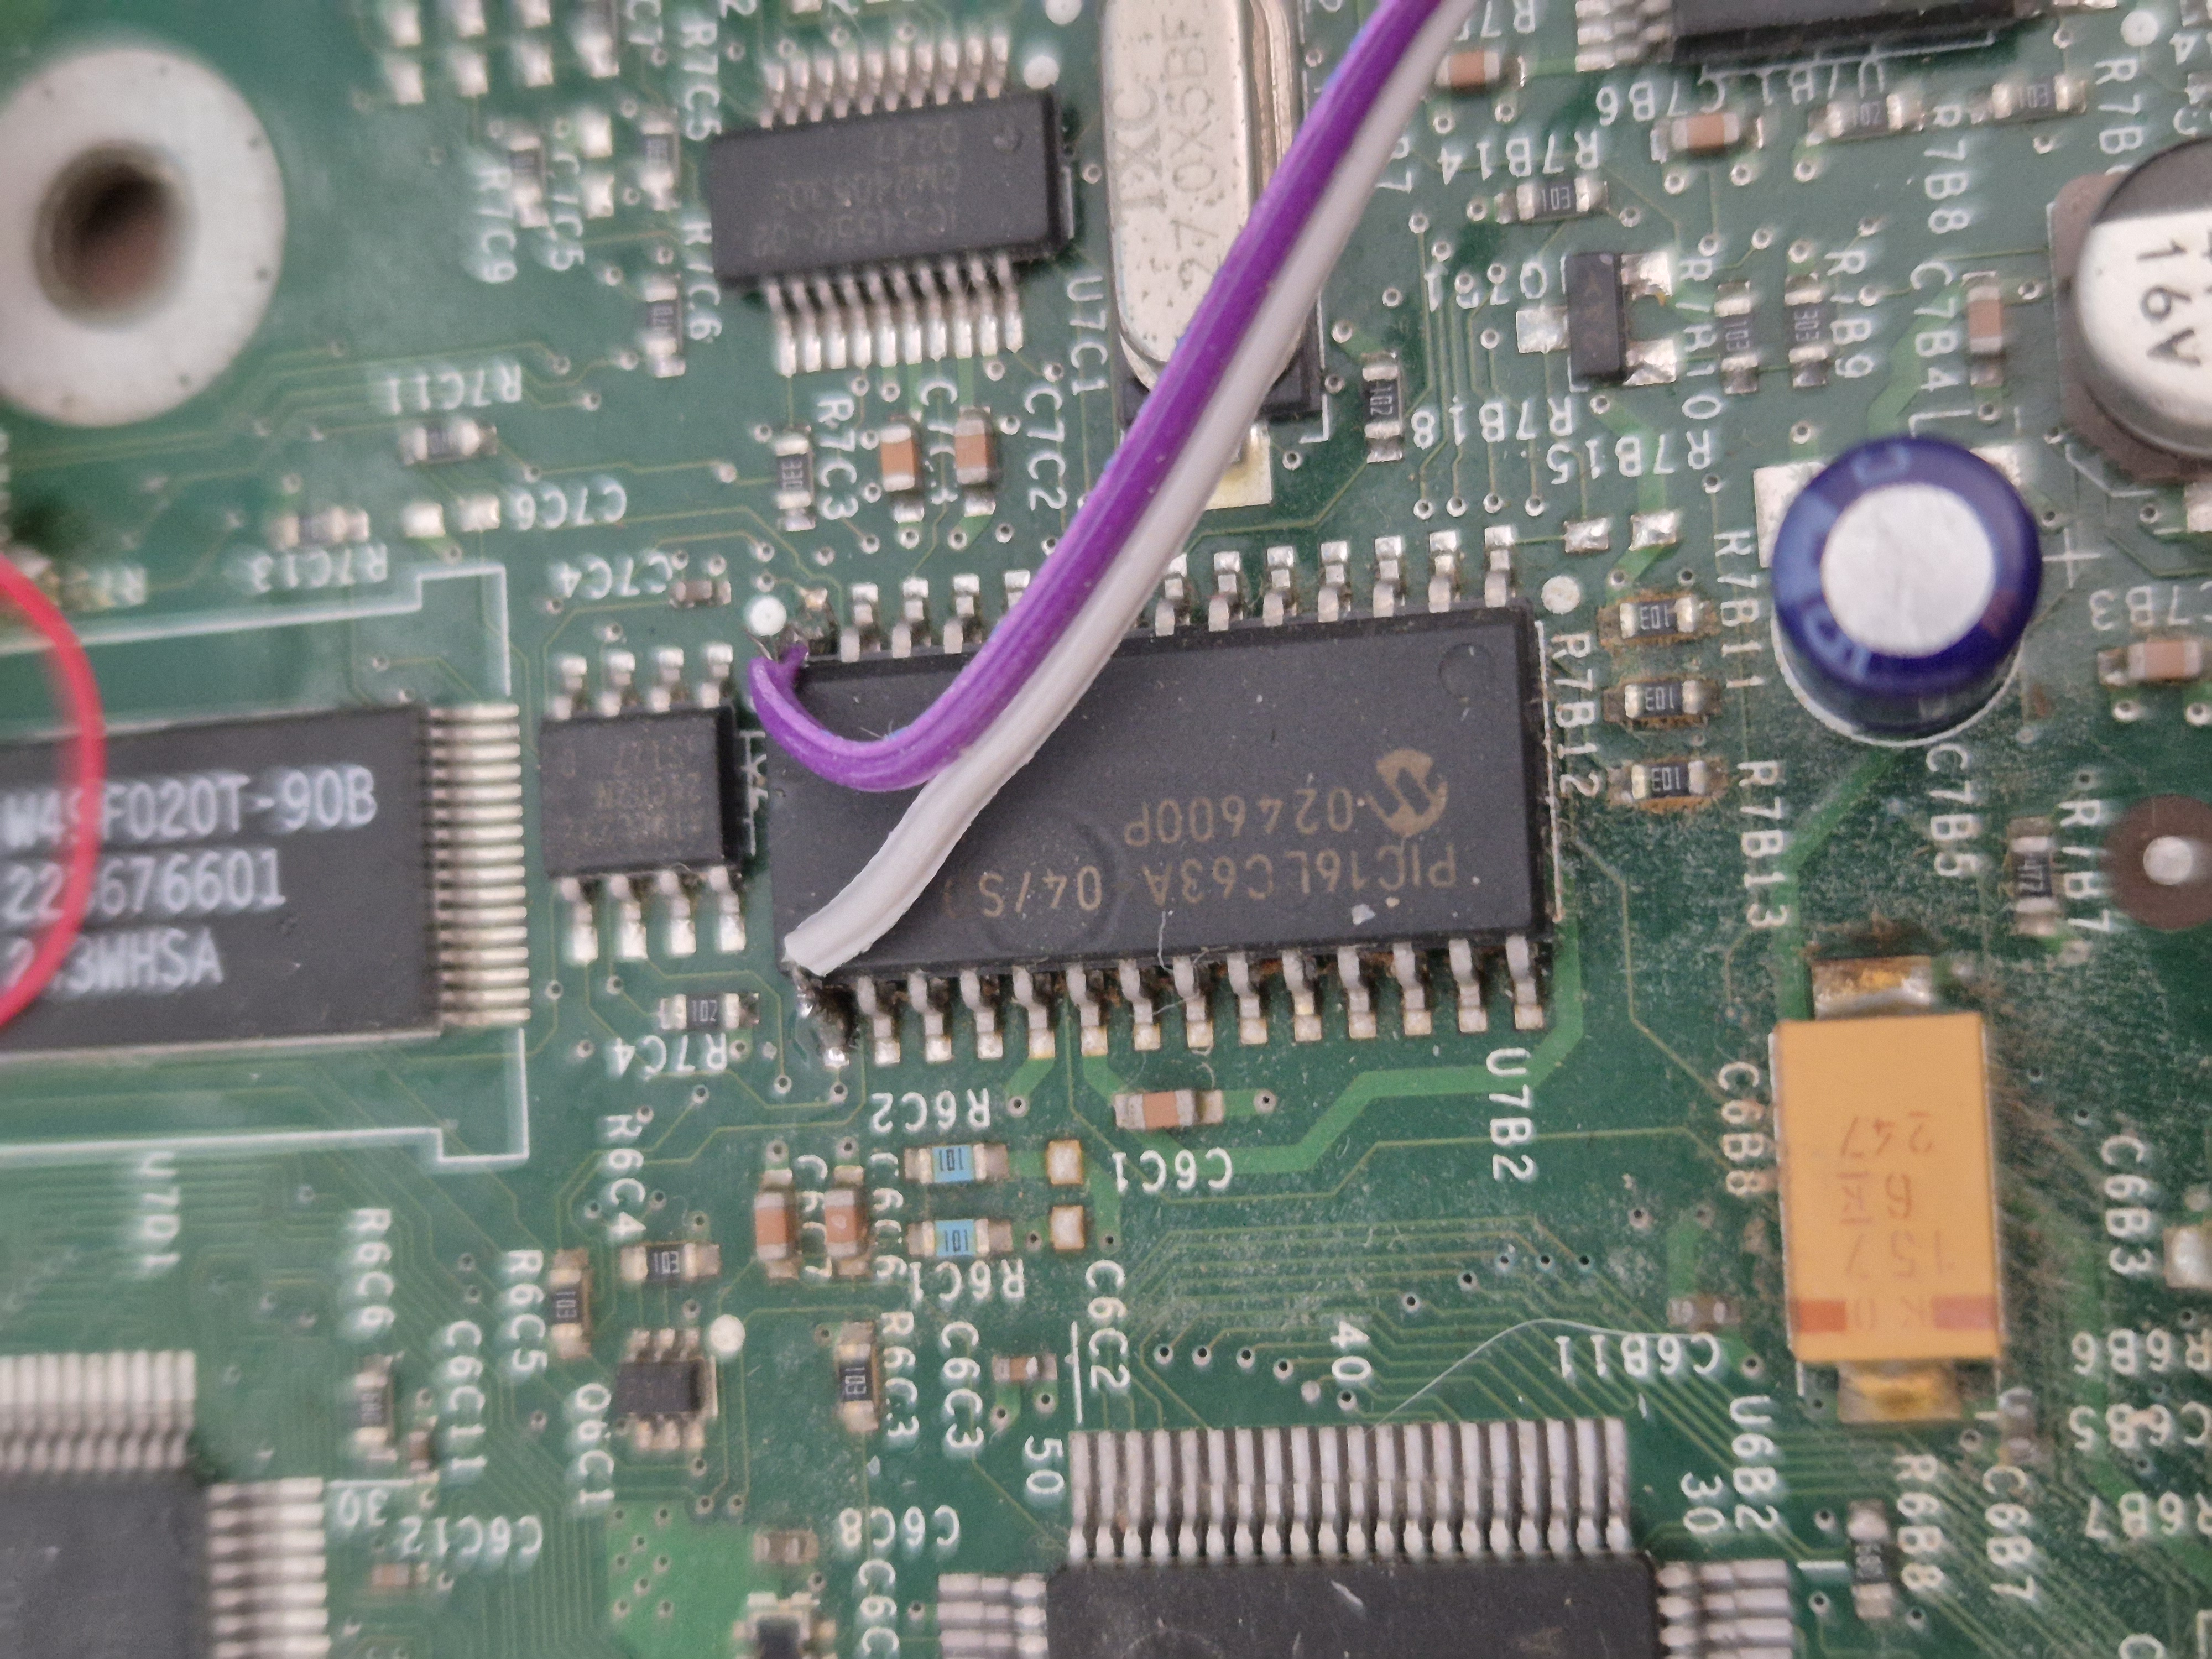
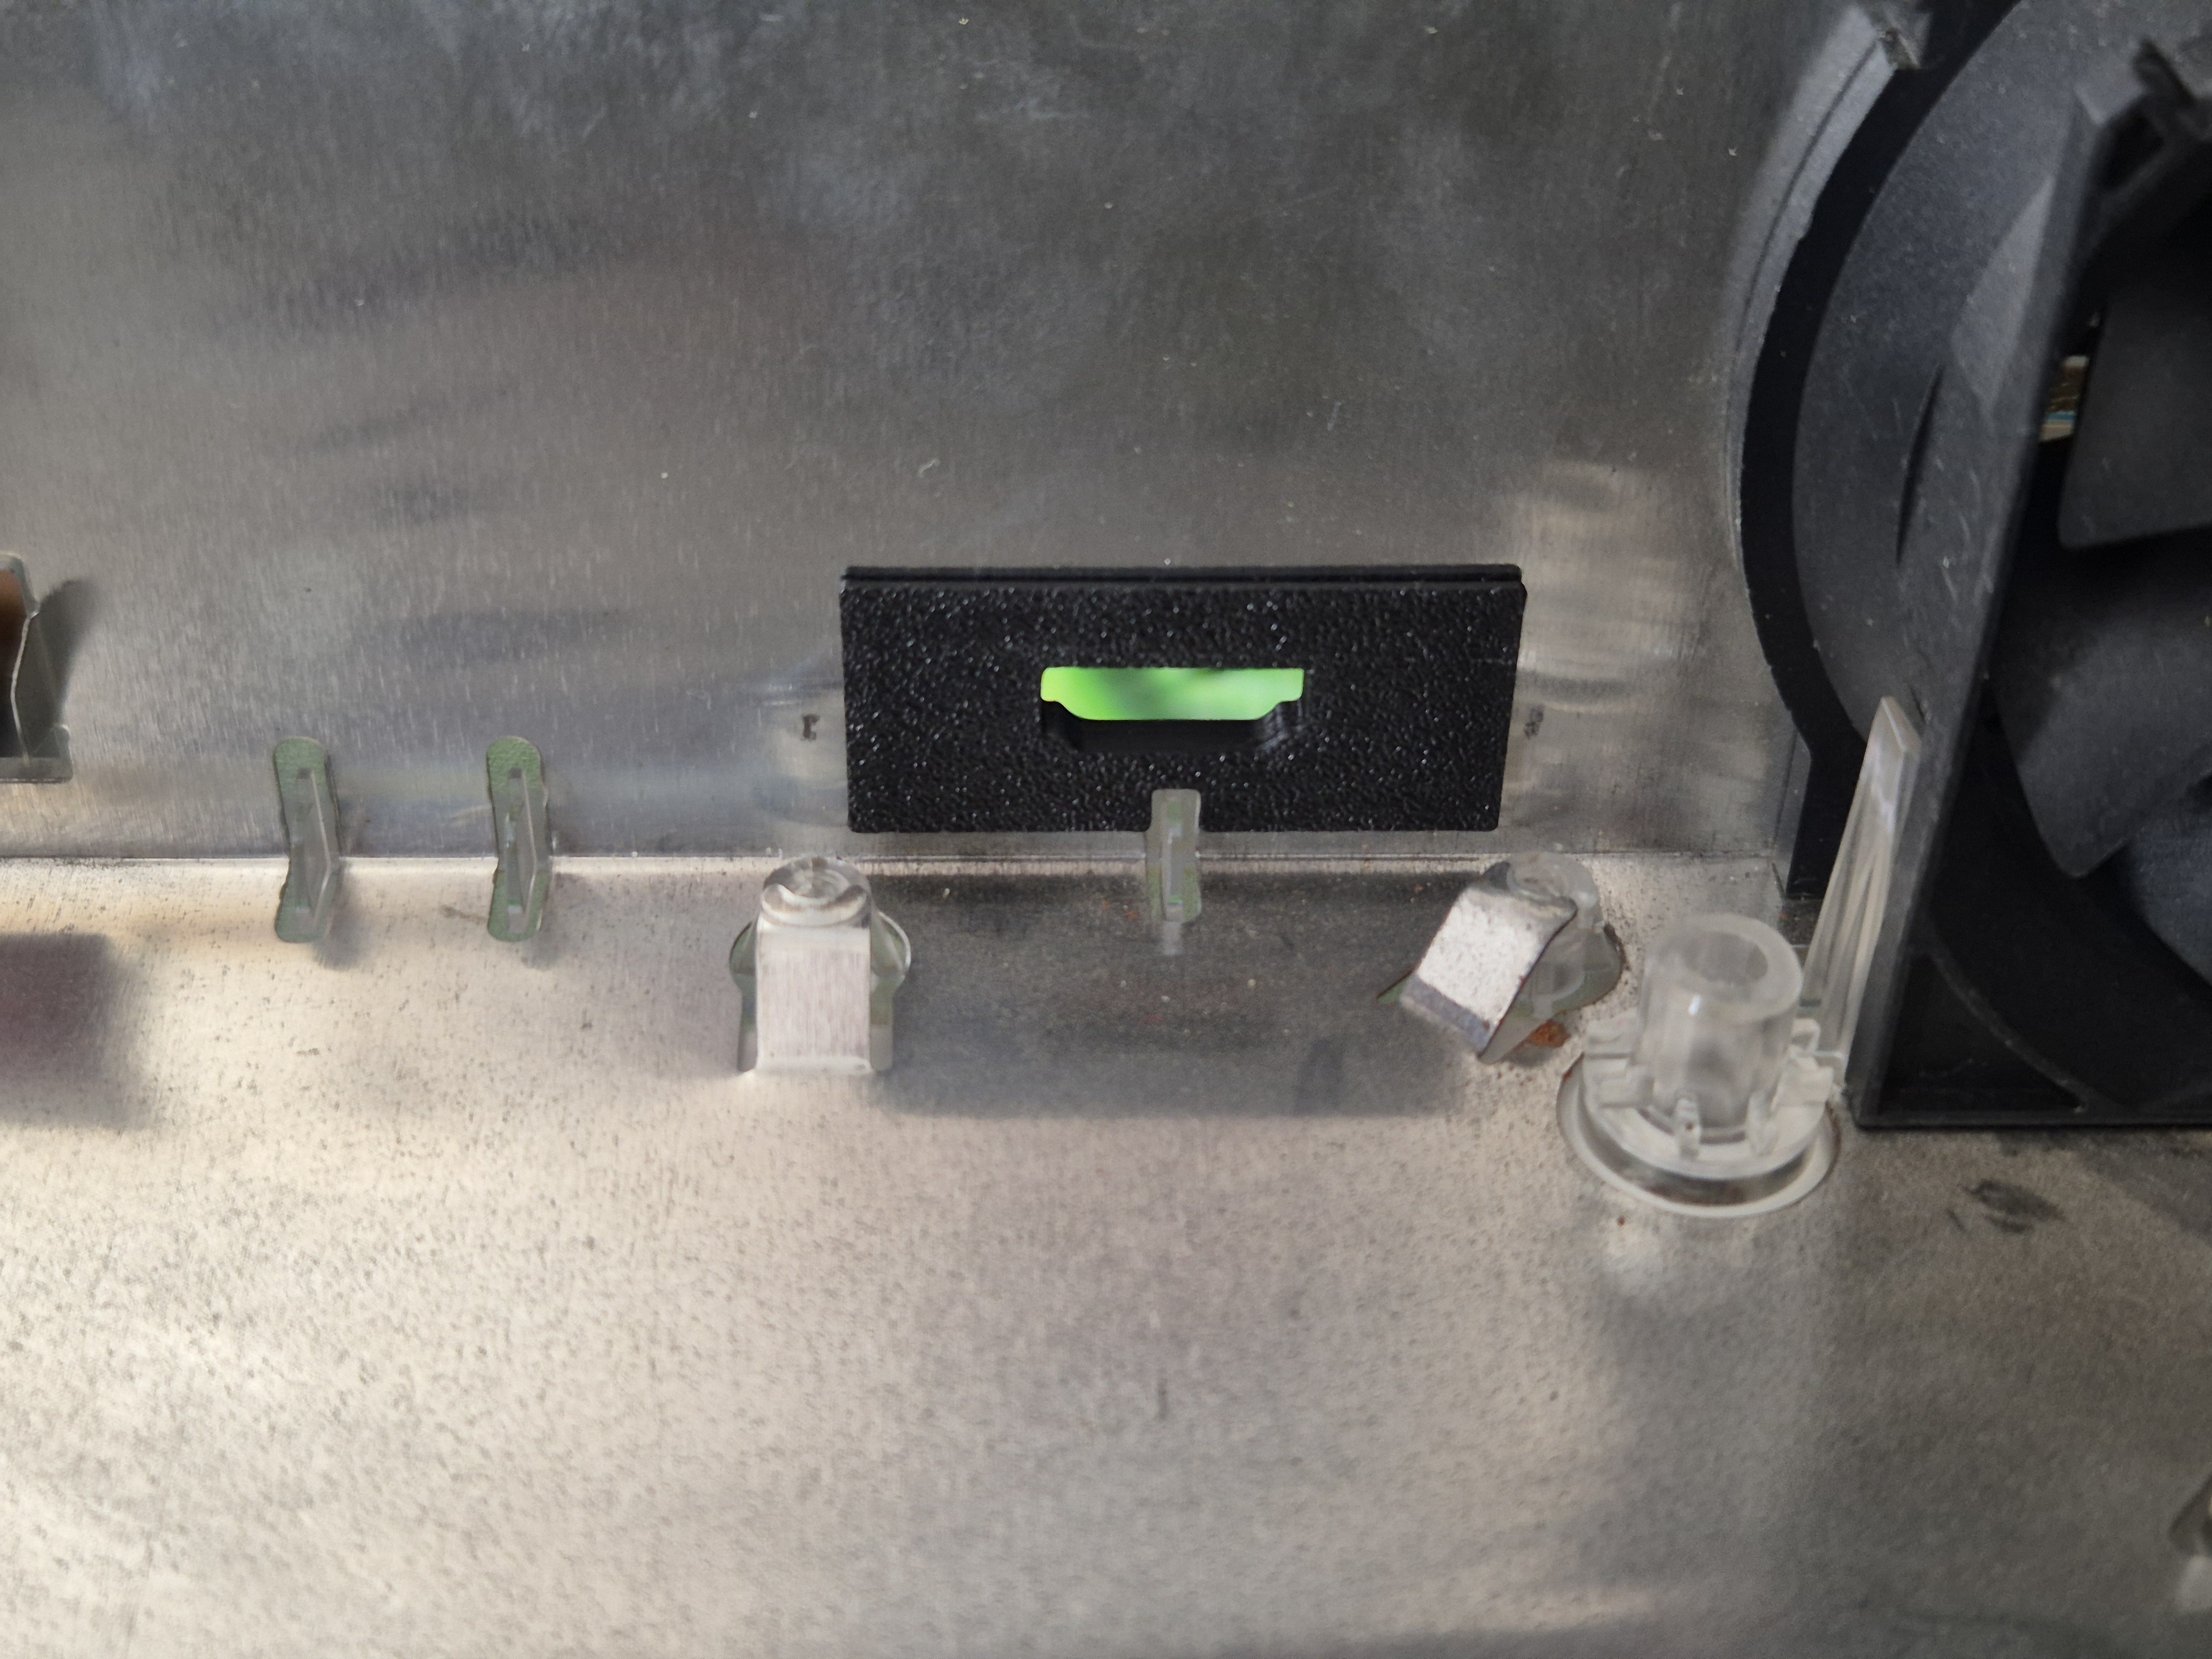
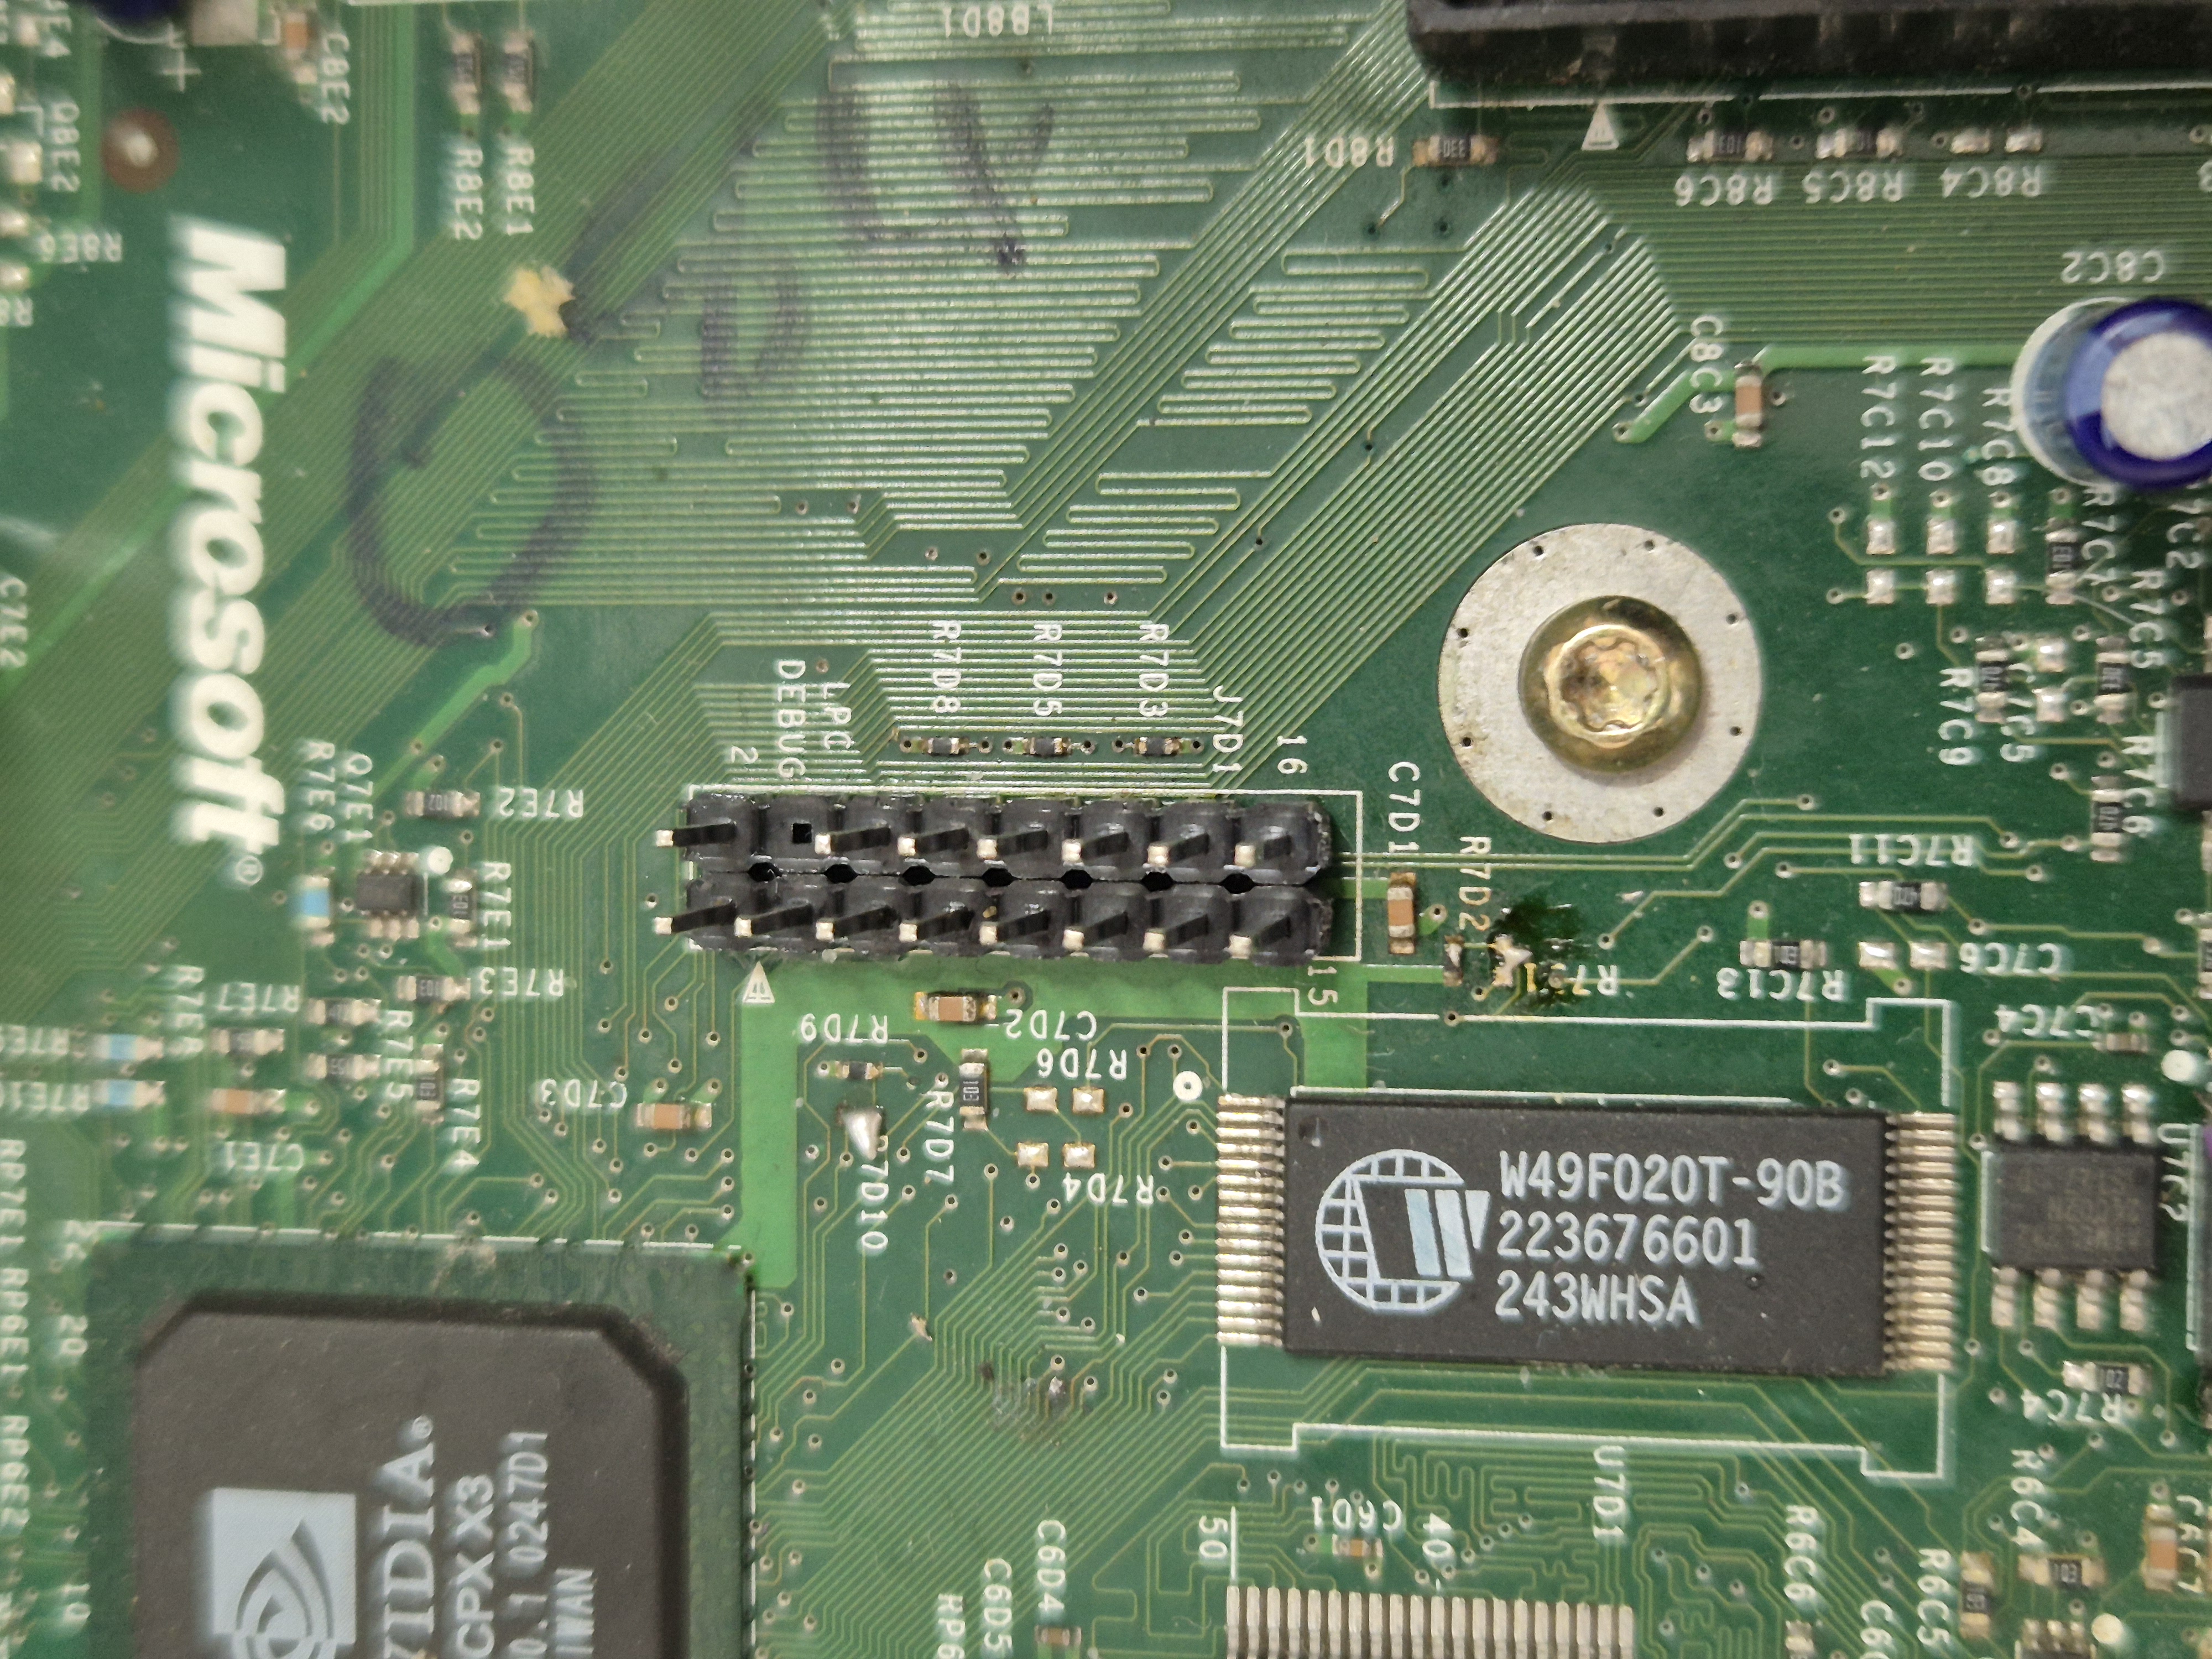
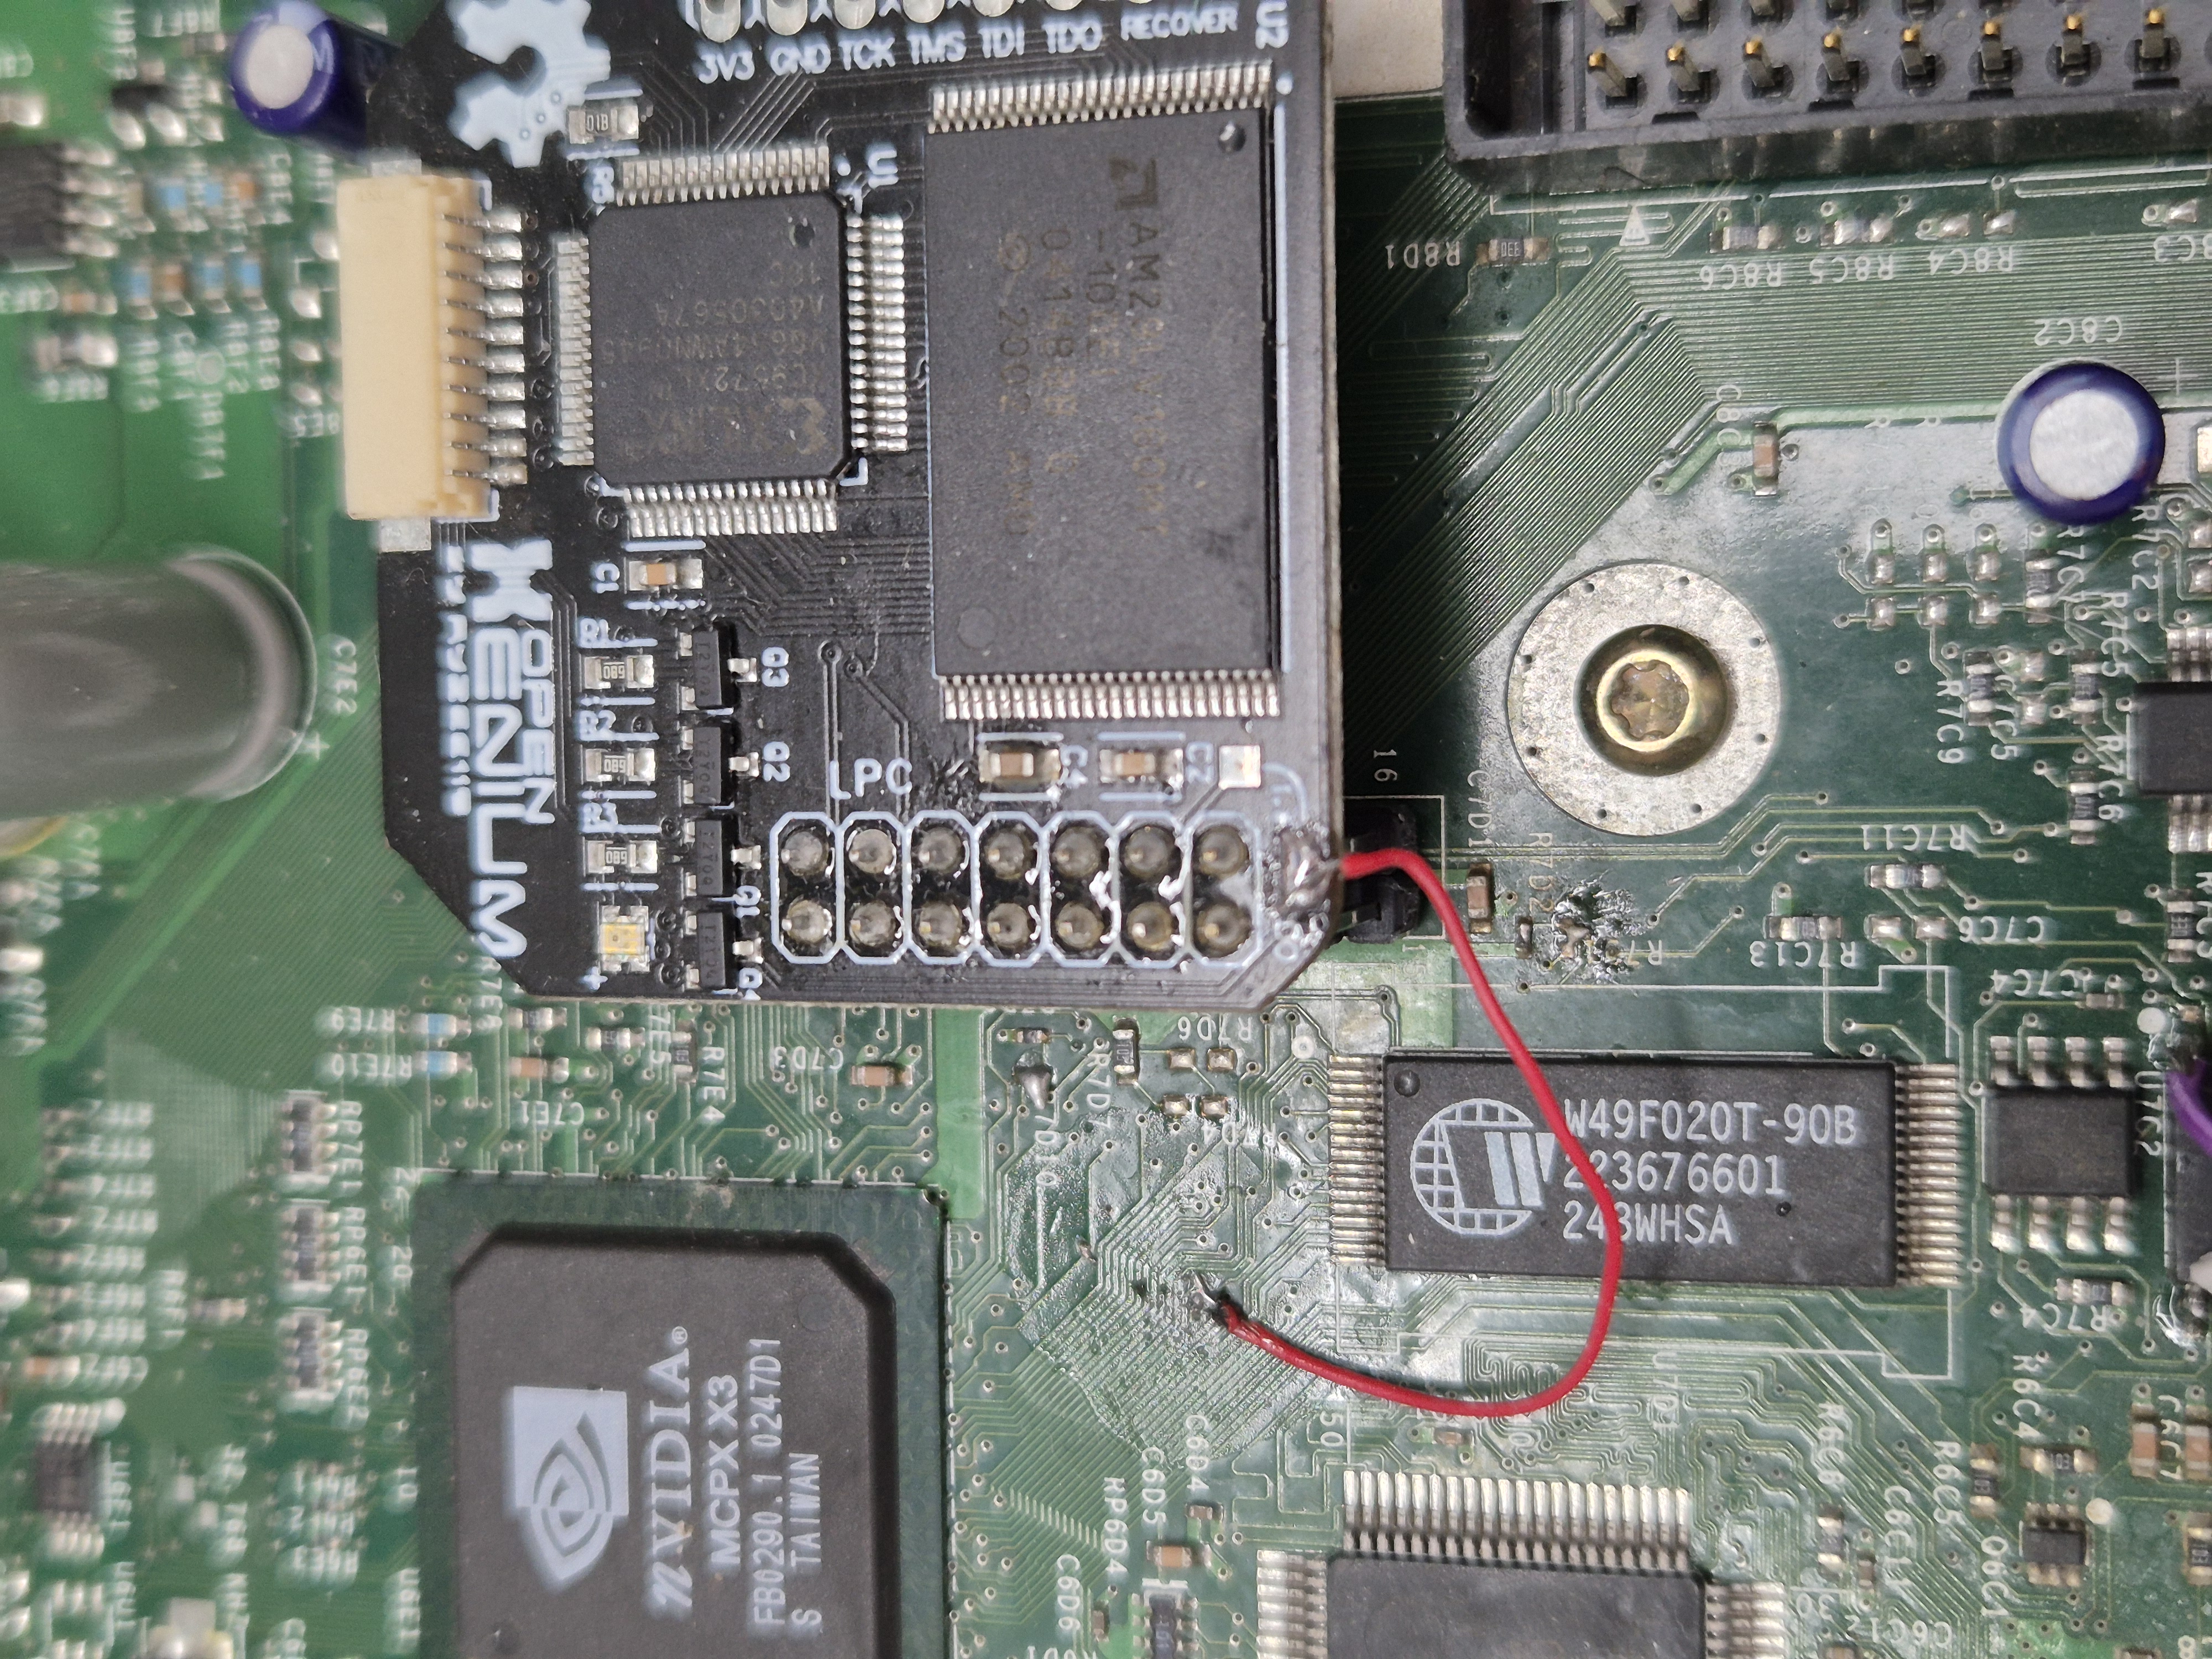
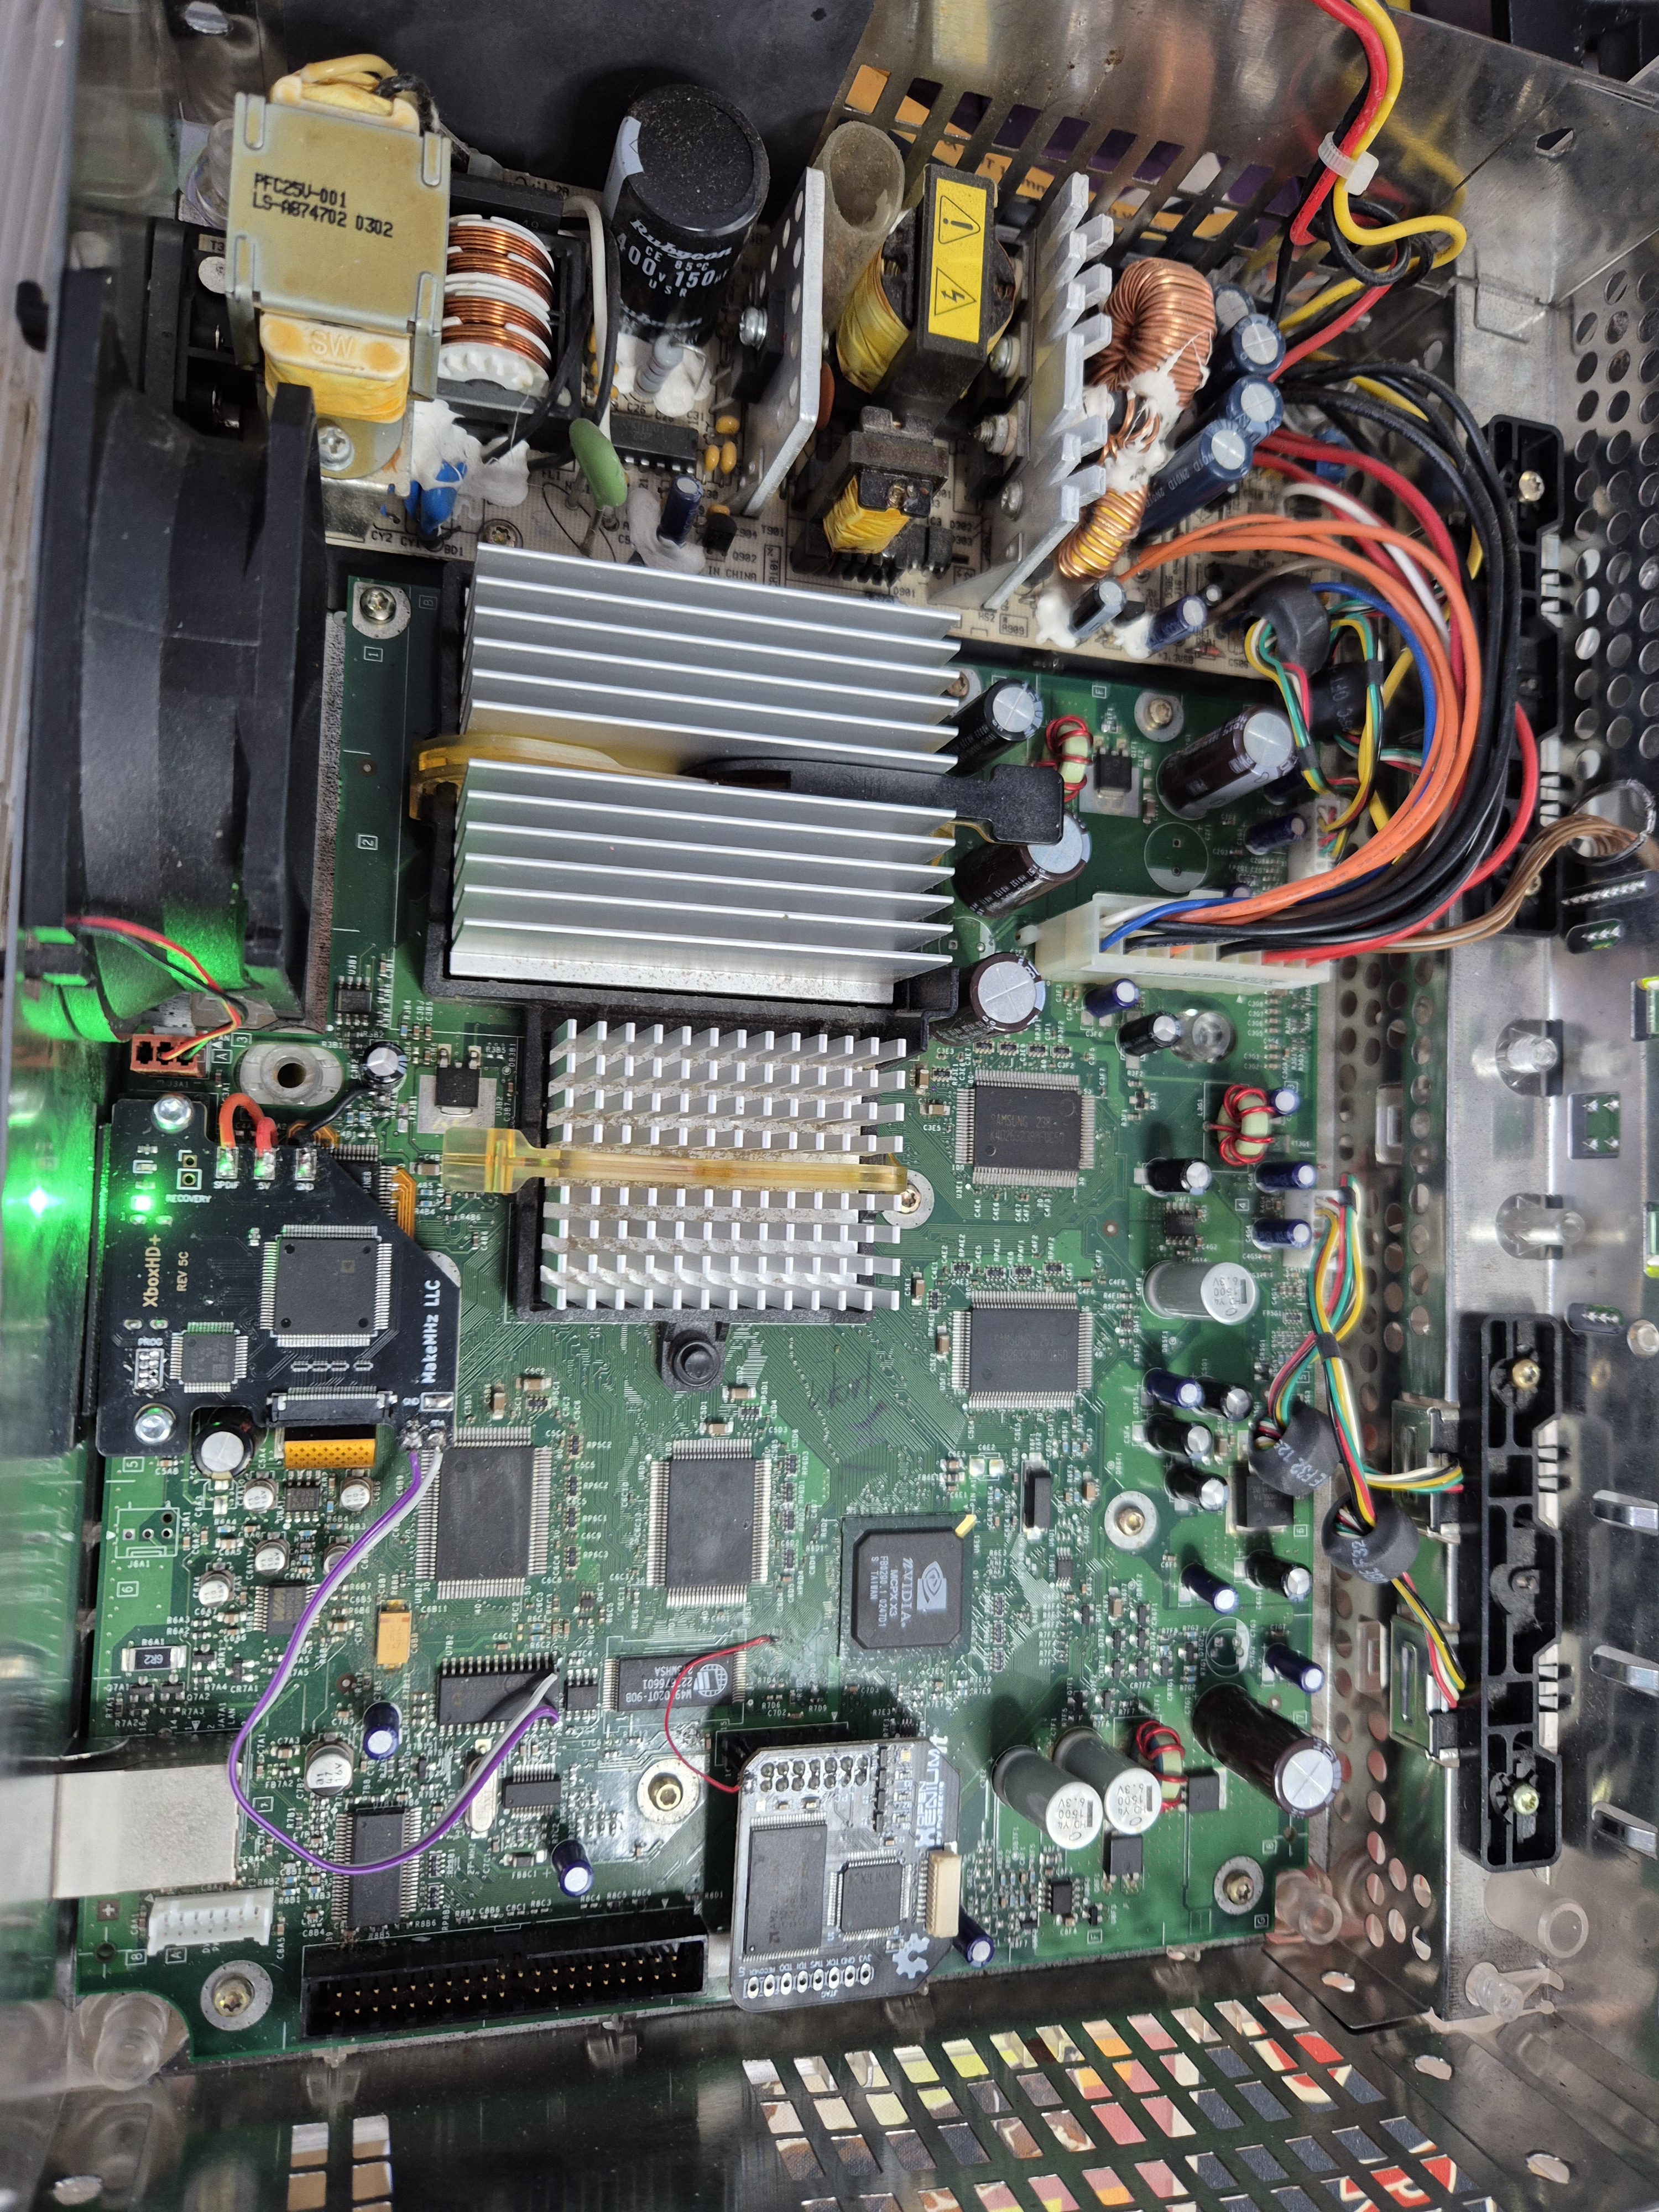
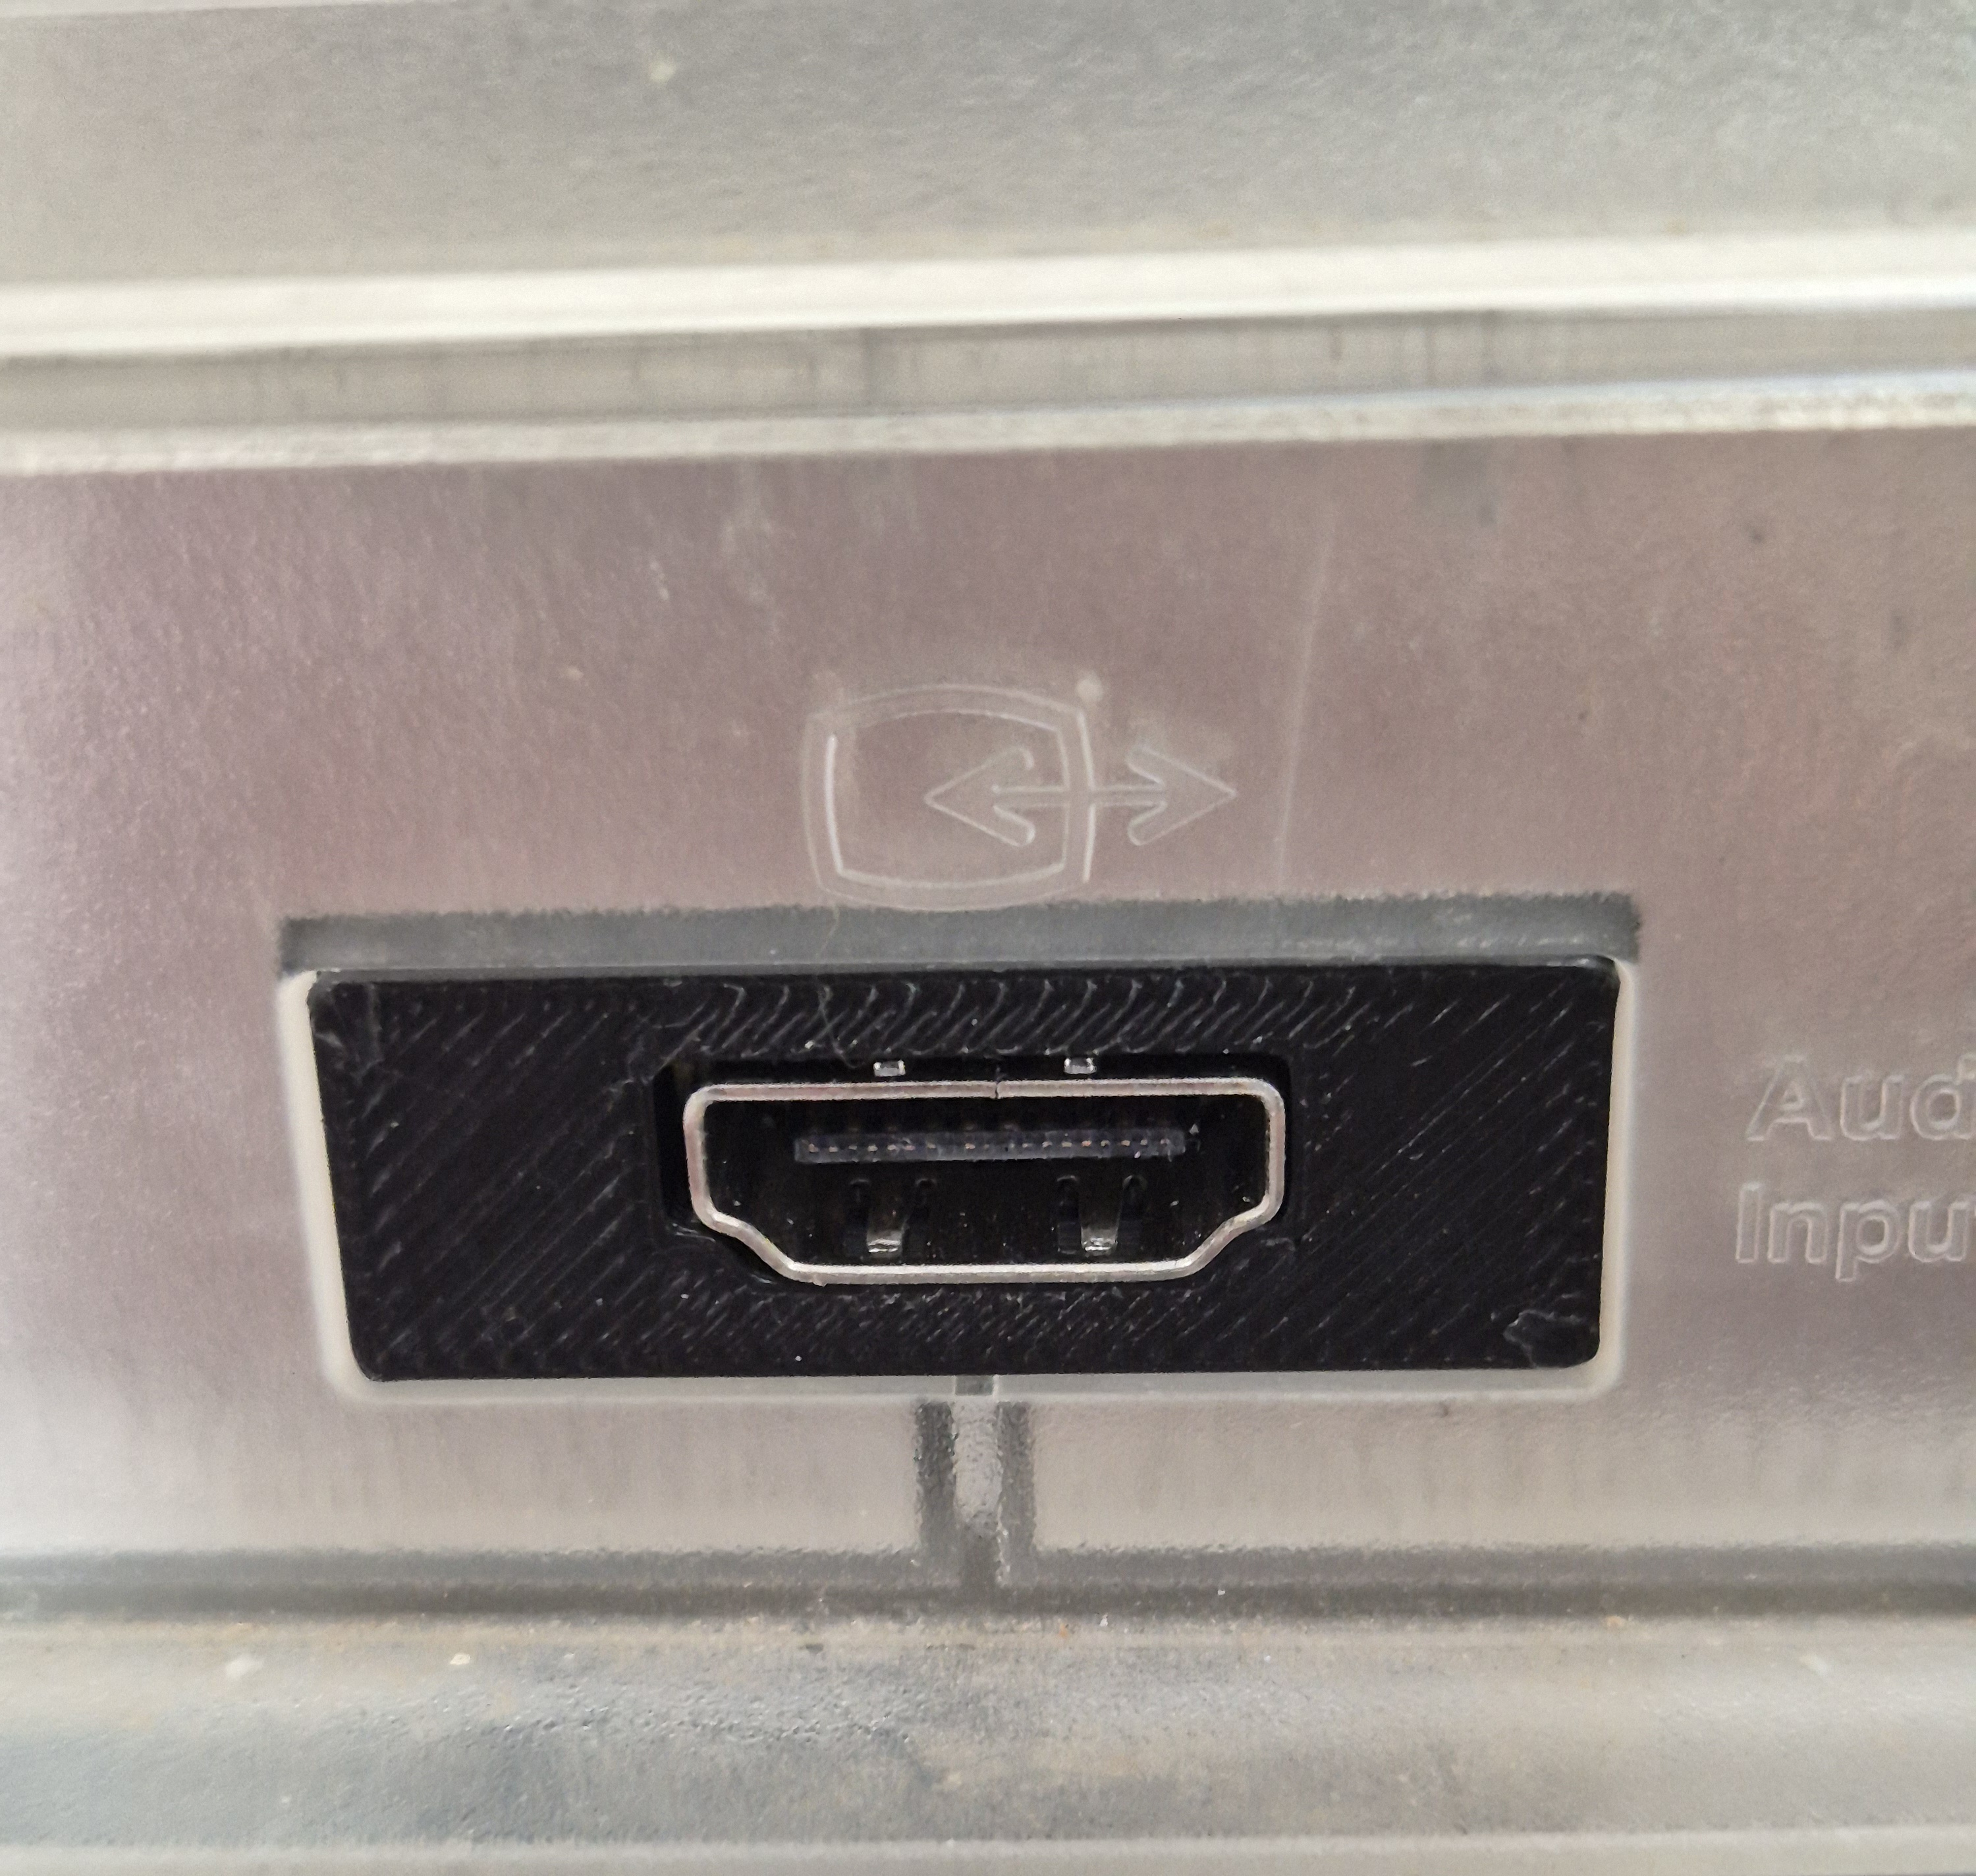
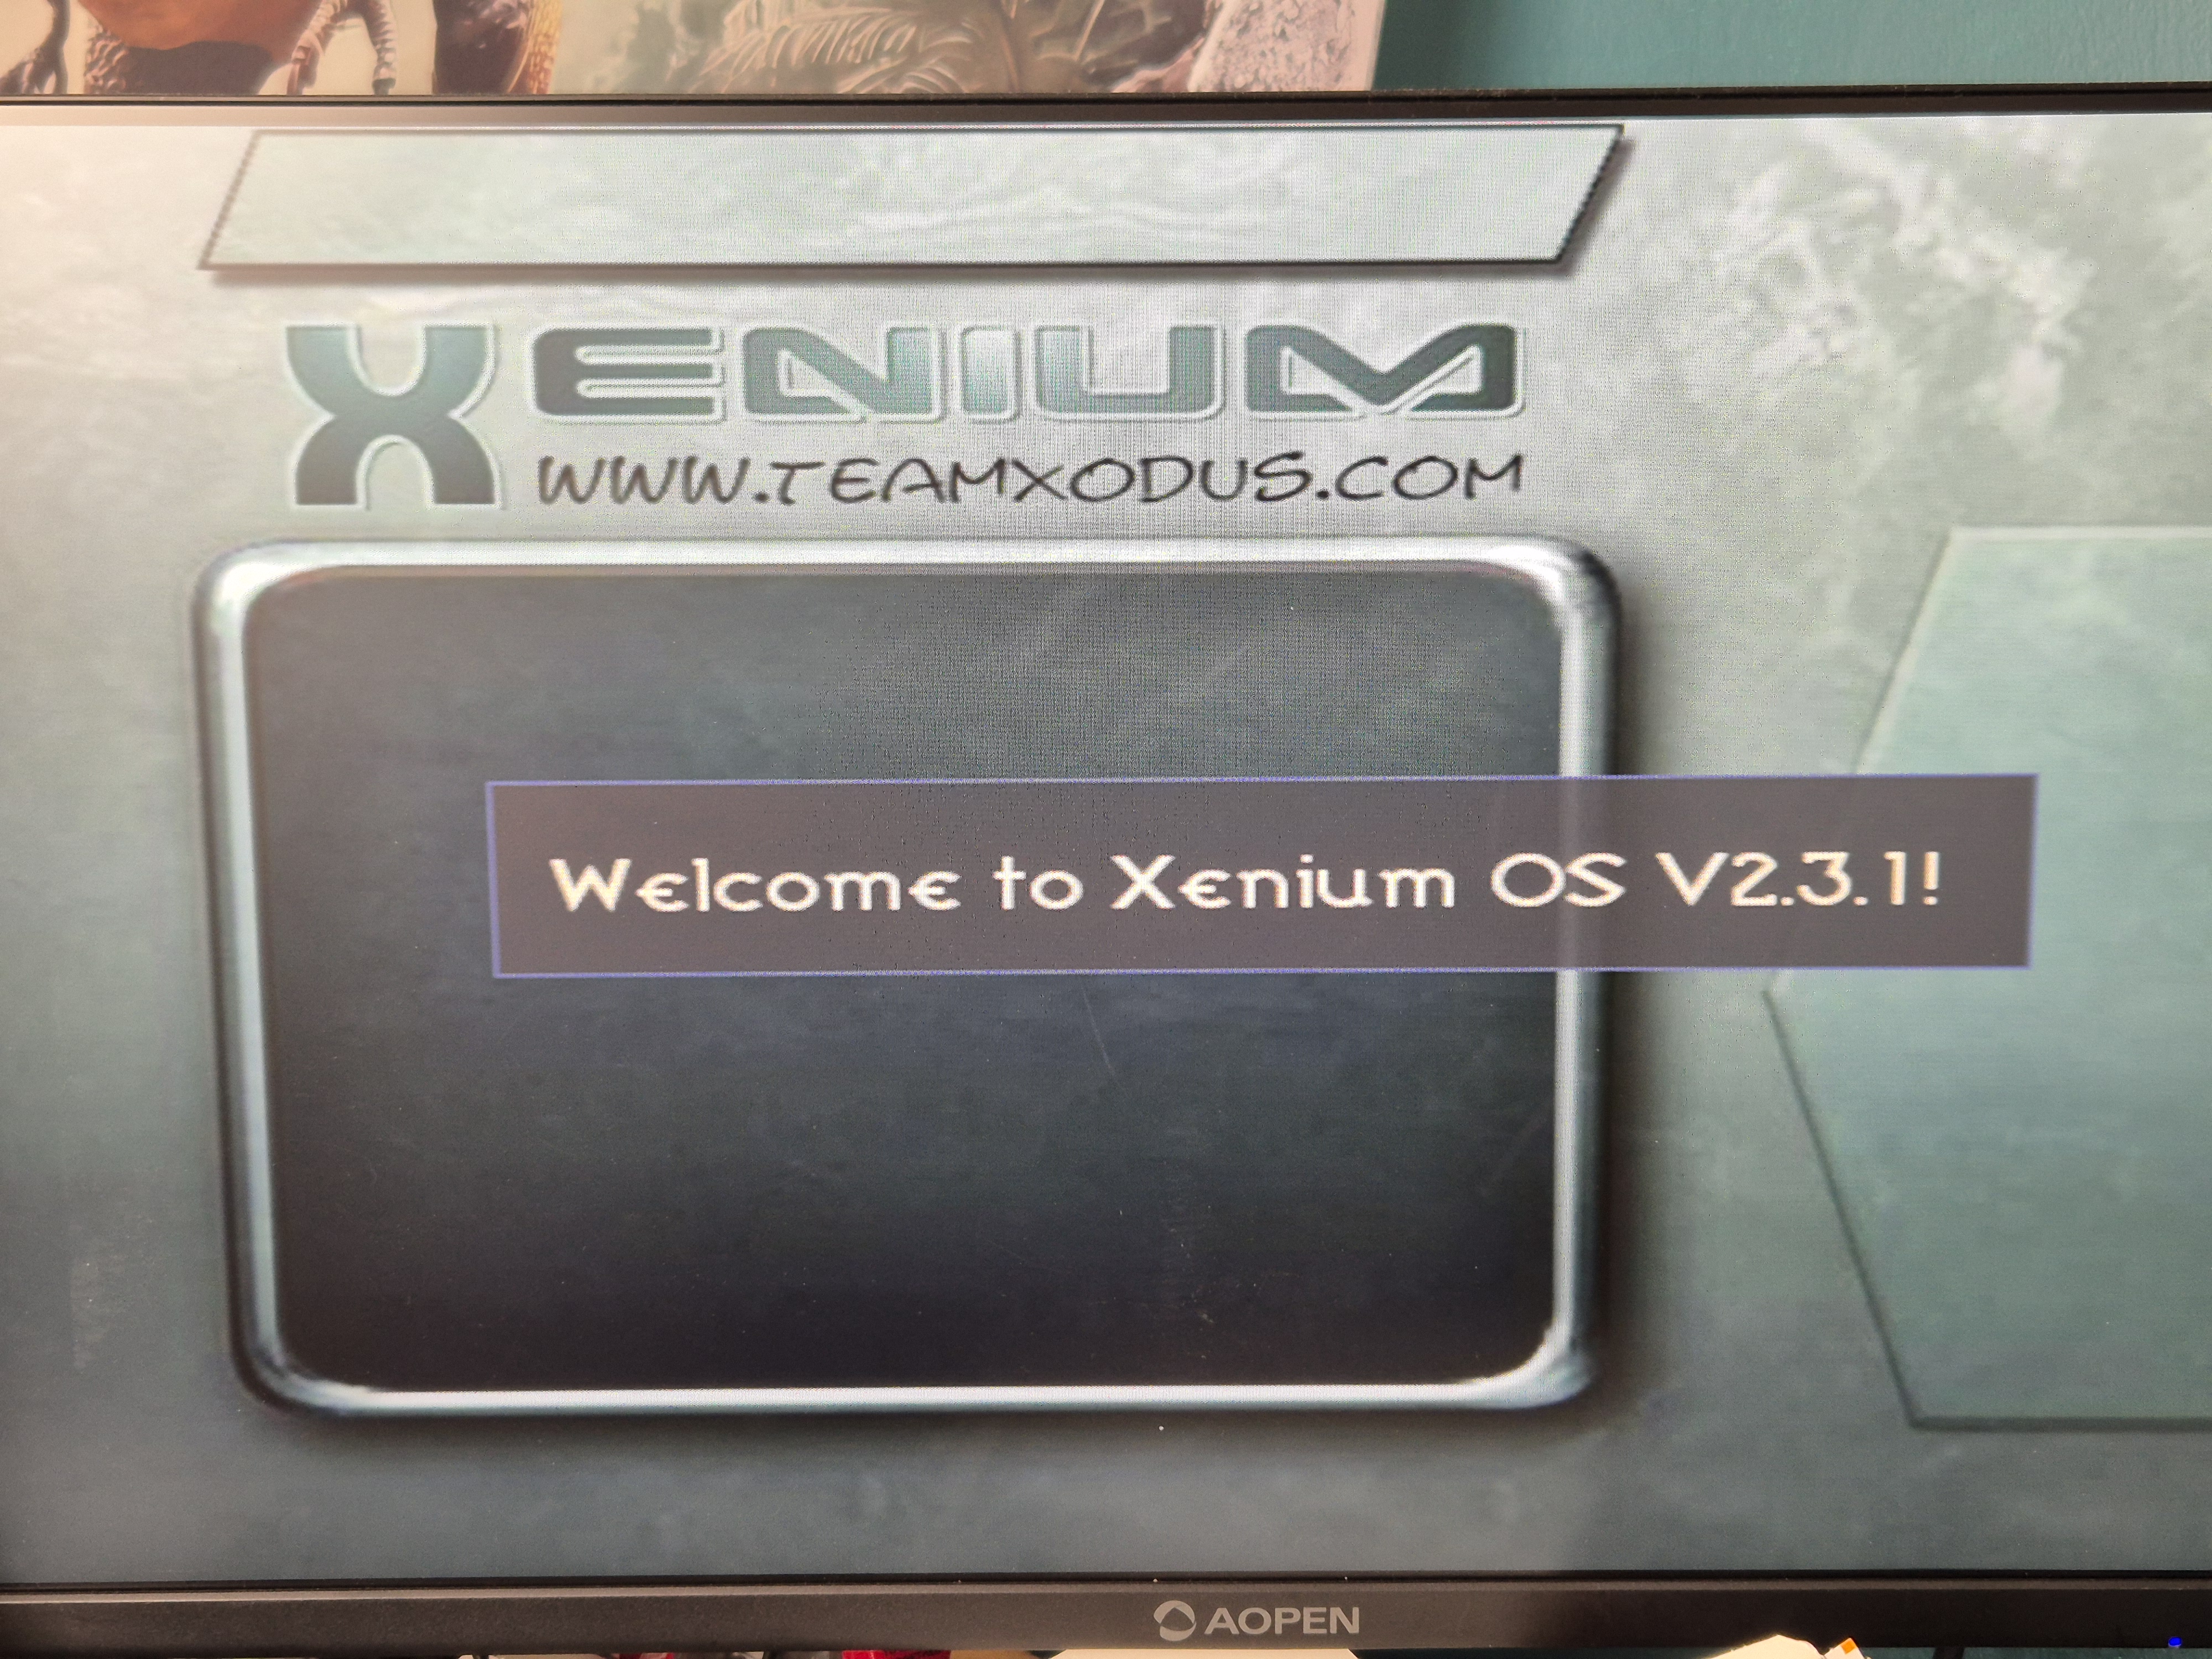
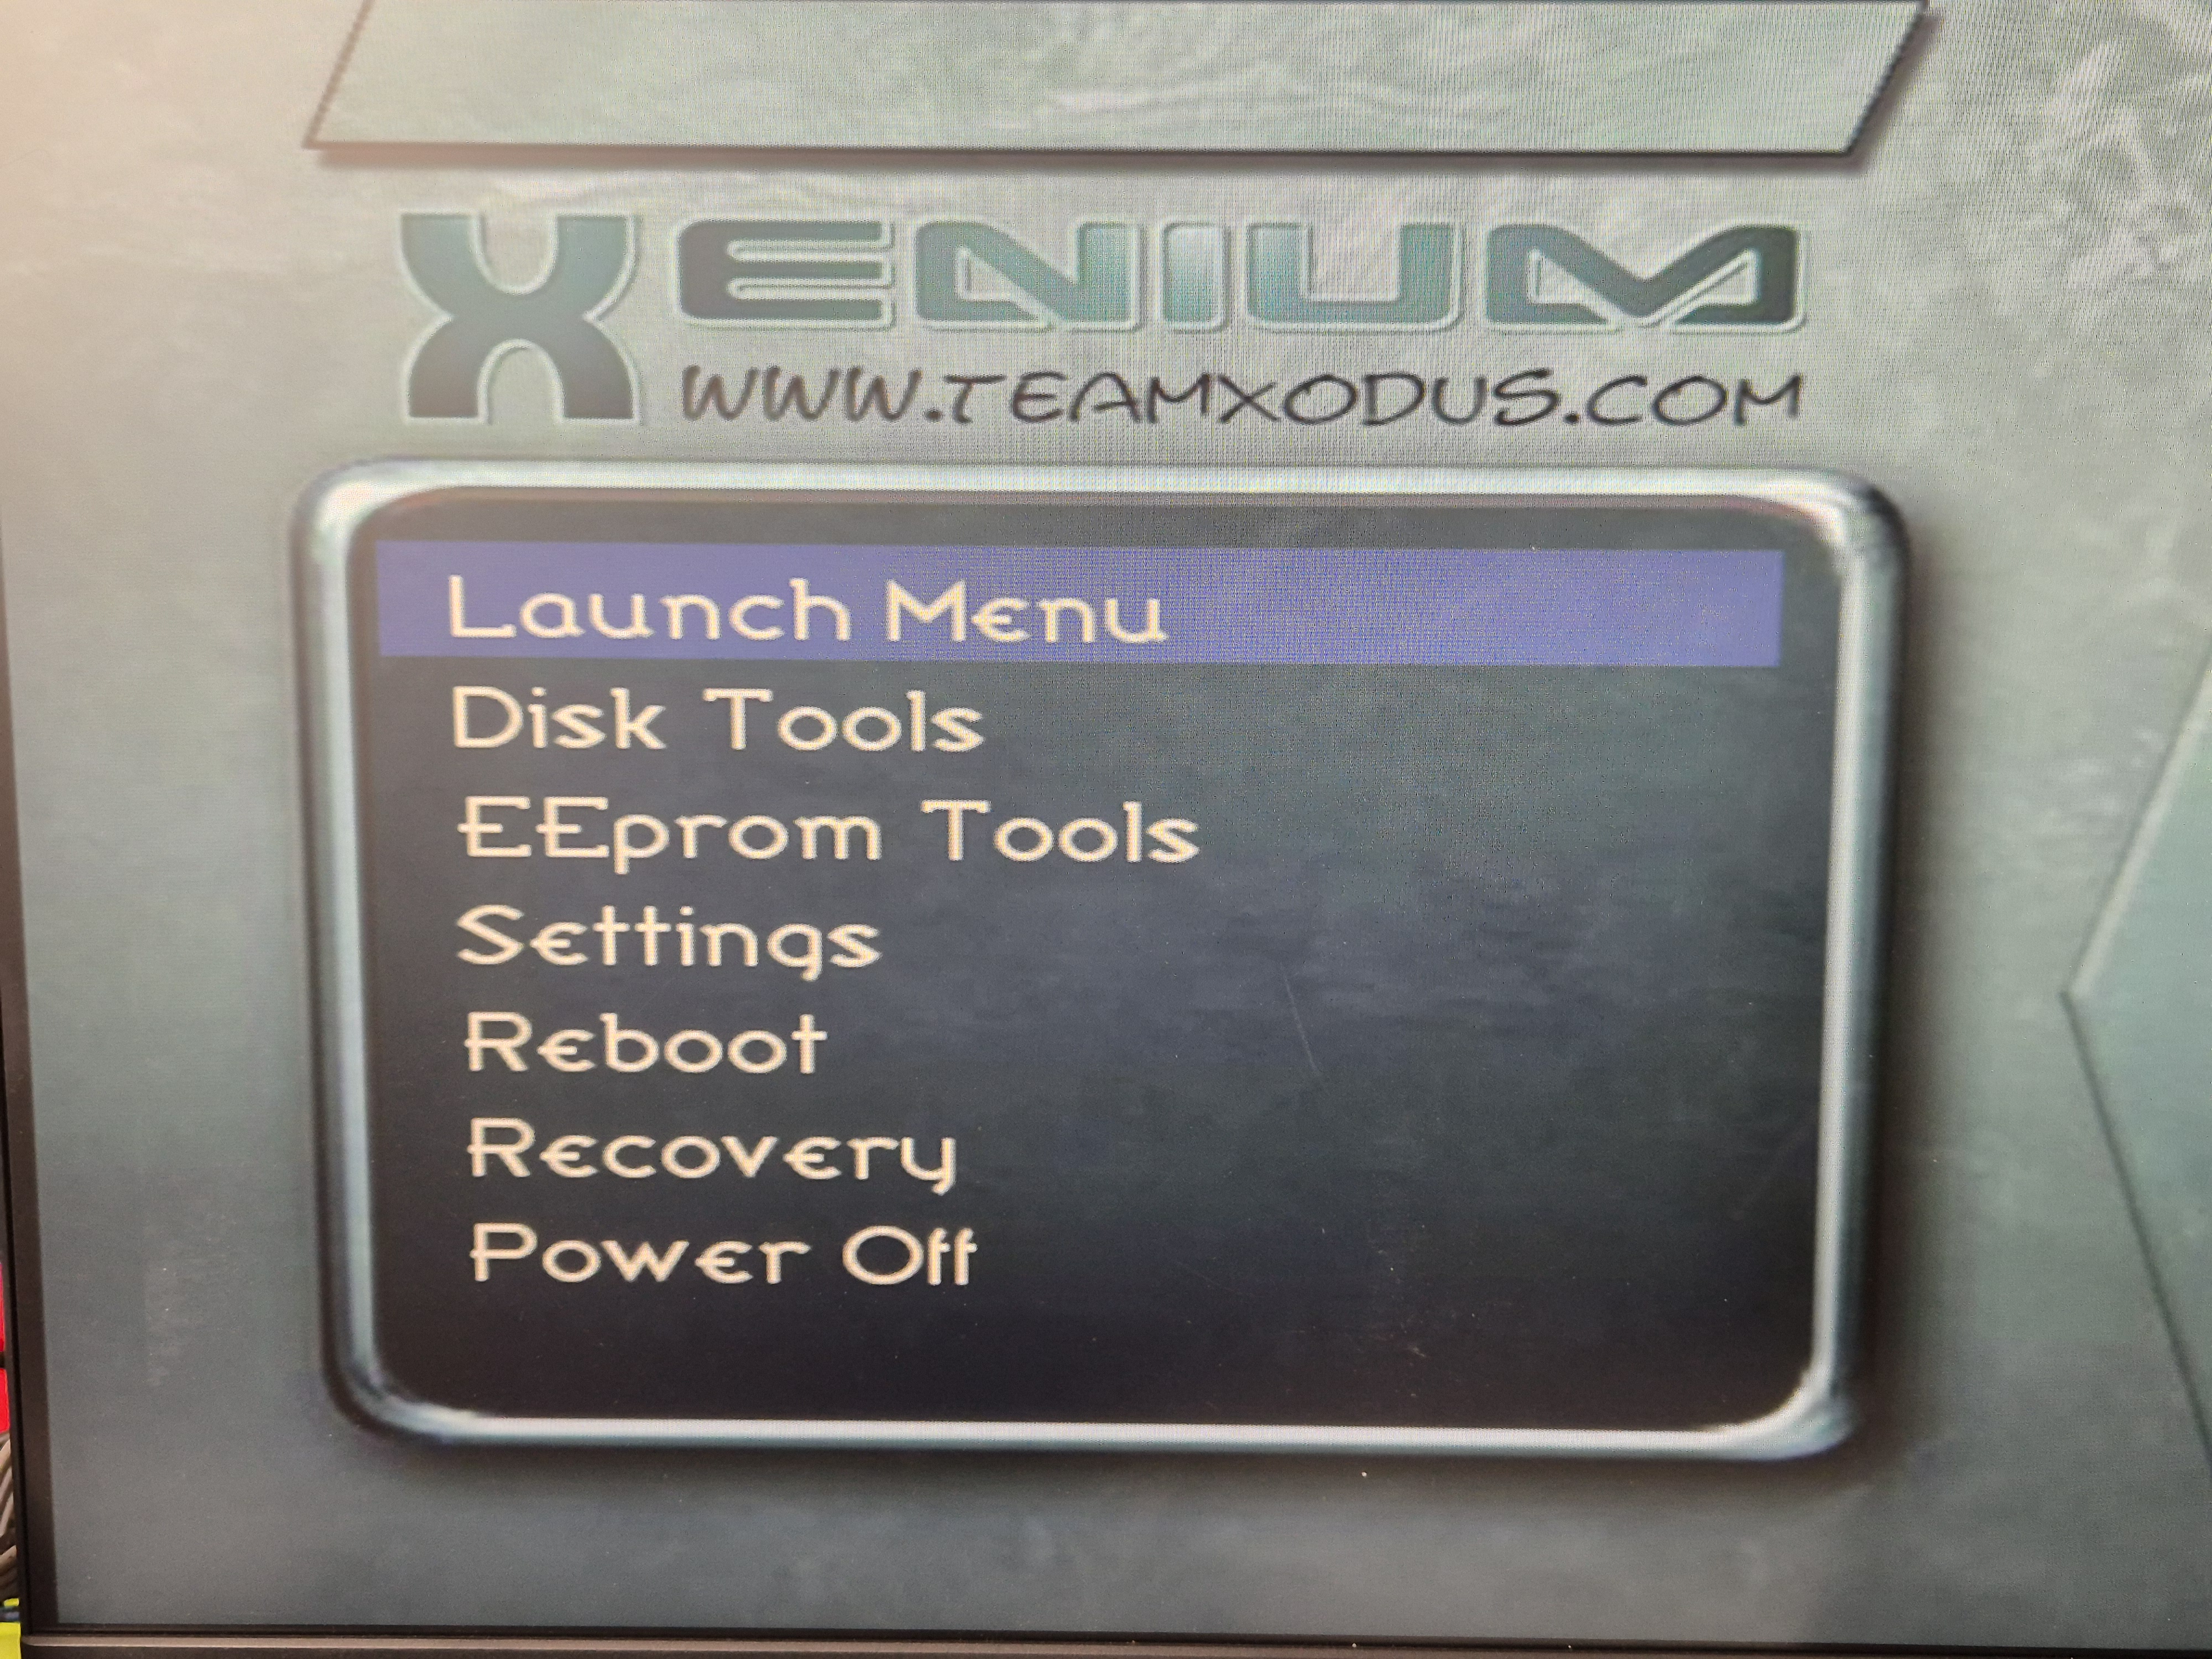
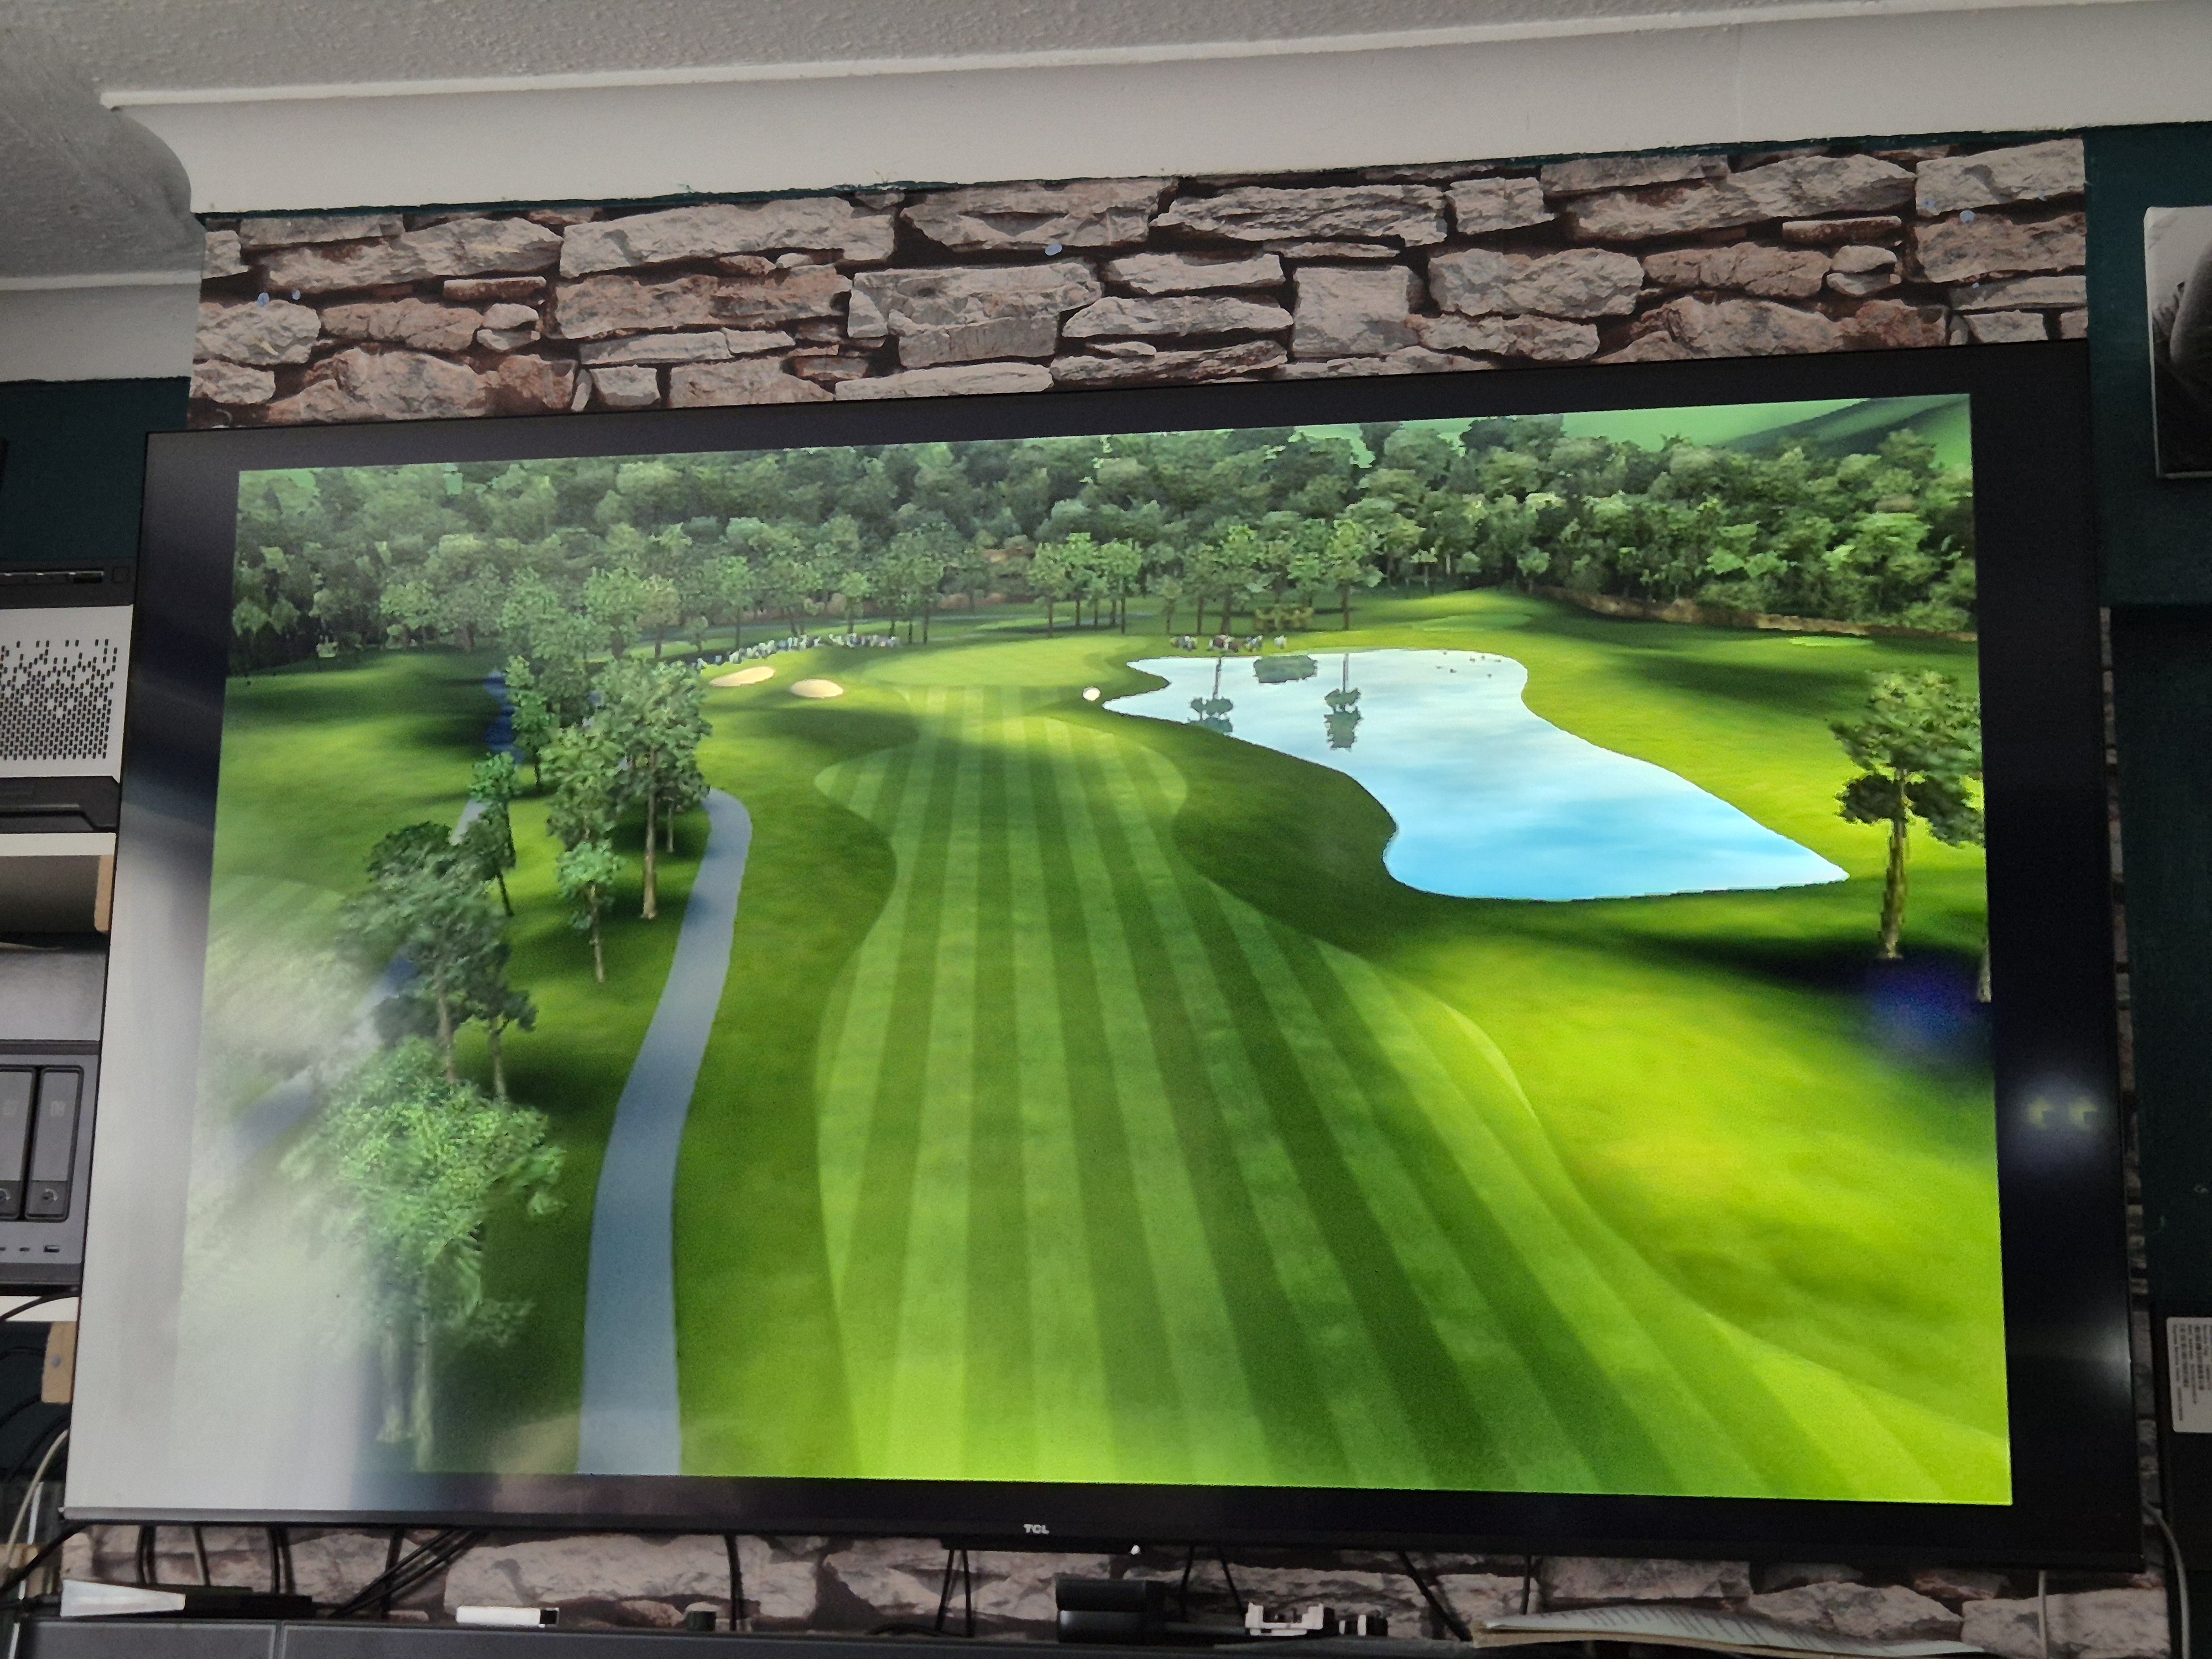
The original Xbox is a fantastic console and launched in the UK in 2002 it was Microsoft's first entry into the console market. The system was powered by a 733Mhz Pentium III CPU with 64MB DDR SDRam, 8GB (some had a 10GB) IDE (PATA) Hard Disk Drive and DVDRom. The unit shipped with a composite video cable which, lets face it, is a terrible output for a console that is capable of 720p and even 1080i HD video! Well, lets do something about that. There are many external HDMI adapters available on the market but most are not very good, either upscaling the composite signal or giving low quality or dark images. So what to do instead? Fit an internal HDMI kit! The internal HDMI board will take the signals directly from the video encoder meaning a true digital output!This Xbox HD+ kit was bought from Aliexpress for just under £40. I don't know if it is old stock or a clone but it arrived well packaged and included a QSB which is required for v1.0-1.5 motherboards, two ribbon cables for rev 1.0-1.5, a ribbon cable for rev 1.6 motherboards and an LPC rebuild pcb which is required if you want to install the OpenXenium on a v1.6 board. Also included was some short wires for power, ground and spdif, 3d printed spacer for the board to sit on and a 3d printed backplate to fill in the AV port hole after the original AV port has been removed. Finally an OpenXenium modchip, with pin header is included.I will be installing this board into a V1.3 motherboard in a crystal case. The first step of the install is to remove FB3B1 which is located just below the video encoder.Turning the board over the QSB needs to be fit in this area.The board is soldered in place anchoring it with the nearby caps.After soldering the QSB in place its recommended to use an external HDMI adapter to test video output still works ok. I did so and all was well so I then removed the AV port using hot air. With the AV port removed I soldered in the 5v and spdif wires.There are also a couple of points that need bridging to tell the console its using the HD pack so AV pins 11 to 12 and 13 to 14 are bridged.Next up I turn my attention to the ribbon cable. Lining it up, applying plenty of flux and soldering it down.SCL (Purple) and SDA (White) signals from the SMBus are also required, luckily they can be found on the pic chip located nearby. Yes I know my motherboard could do with a good clean, I want to pick up an ultrasonic cleaner at some point.Now before installing the board back into the case, remember to fit the HDMI blanking plate.The board reinstalled, wired and ribbon cable inserted but it's not time to test just yet.Next up i turn my attention to the OpenXenium modchip, fitting the included pinheader.Then I plug the modchip onto the header and install the d0 wire.And here you can see the fully reassembled board with the OpenXenium and HDMI board installed. You can also see that i've fit the extra ram chips to upgrade this board to 128MBAnd from the back it looks quite niceNow is the moment of truth! With HDMI cable hooked in the Xbox is powerered on to be greeted with the Xenium splash screen!And after a few seconds the Xenium menu loads.For a quick test i threw in Tiger Woods PGA Tour 2003 and it looks quite nice on my 65" TVSadly Cerbios, which i fully recommend for any modded Xbox, dropped support, for reasons i won't go into, for the HD+ in the newly released version 3.0 so in order to use this HDMI board going forward I have to do something about it. Thankfully some community members ported an open source replacement firmware, it just requires an STLink V2 USB hooked up to the HDMI board to reflash the onboard STM32 chip. The replacement firmware can be found here
https://github.com/Team-Resurgent/XboxHDMI-TR
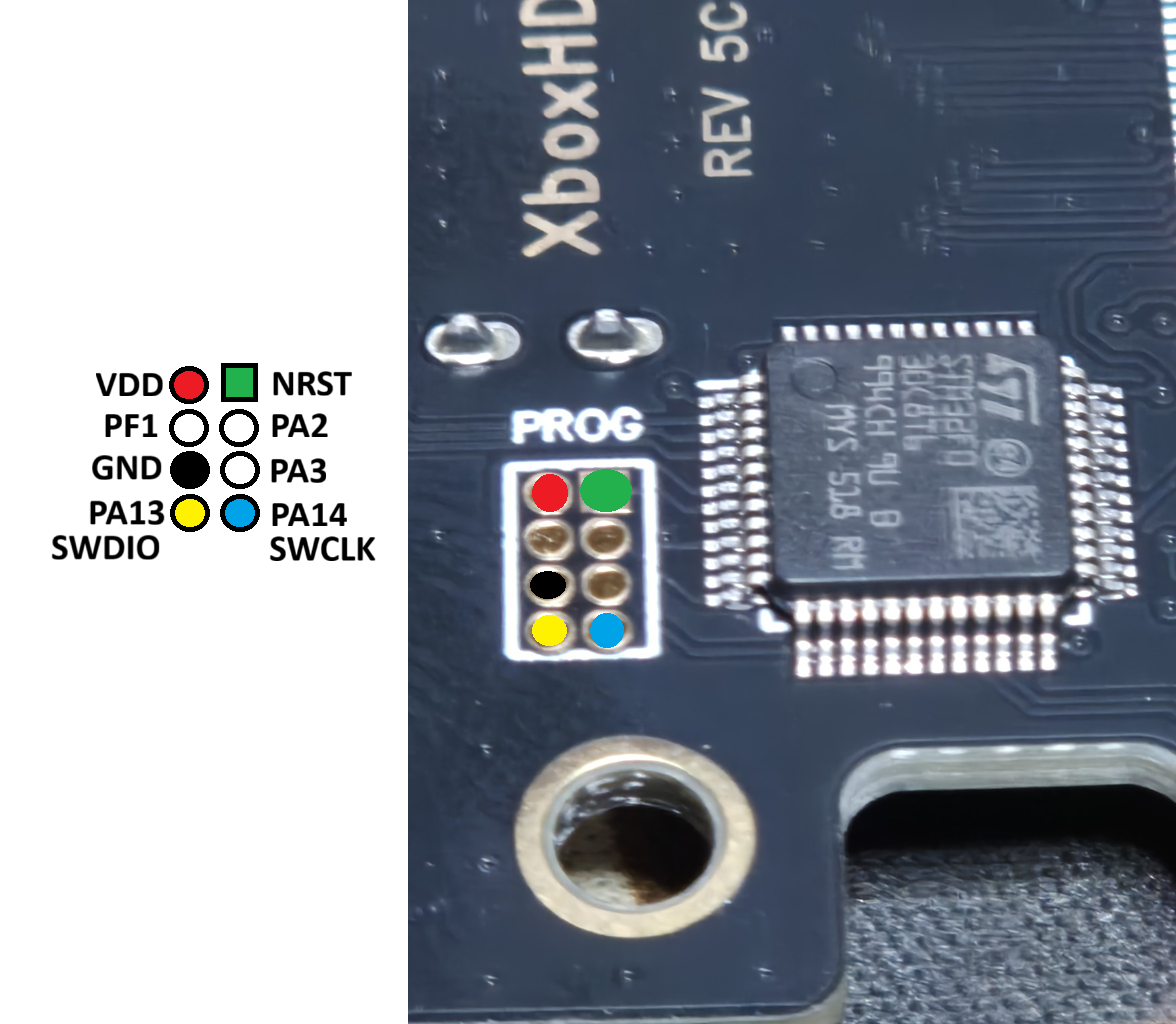
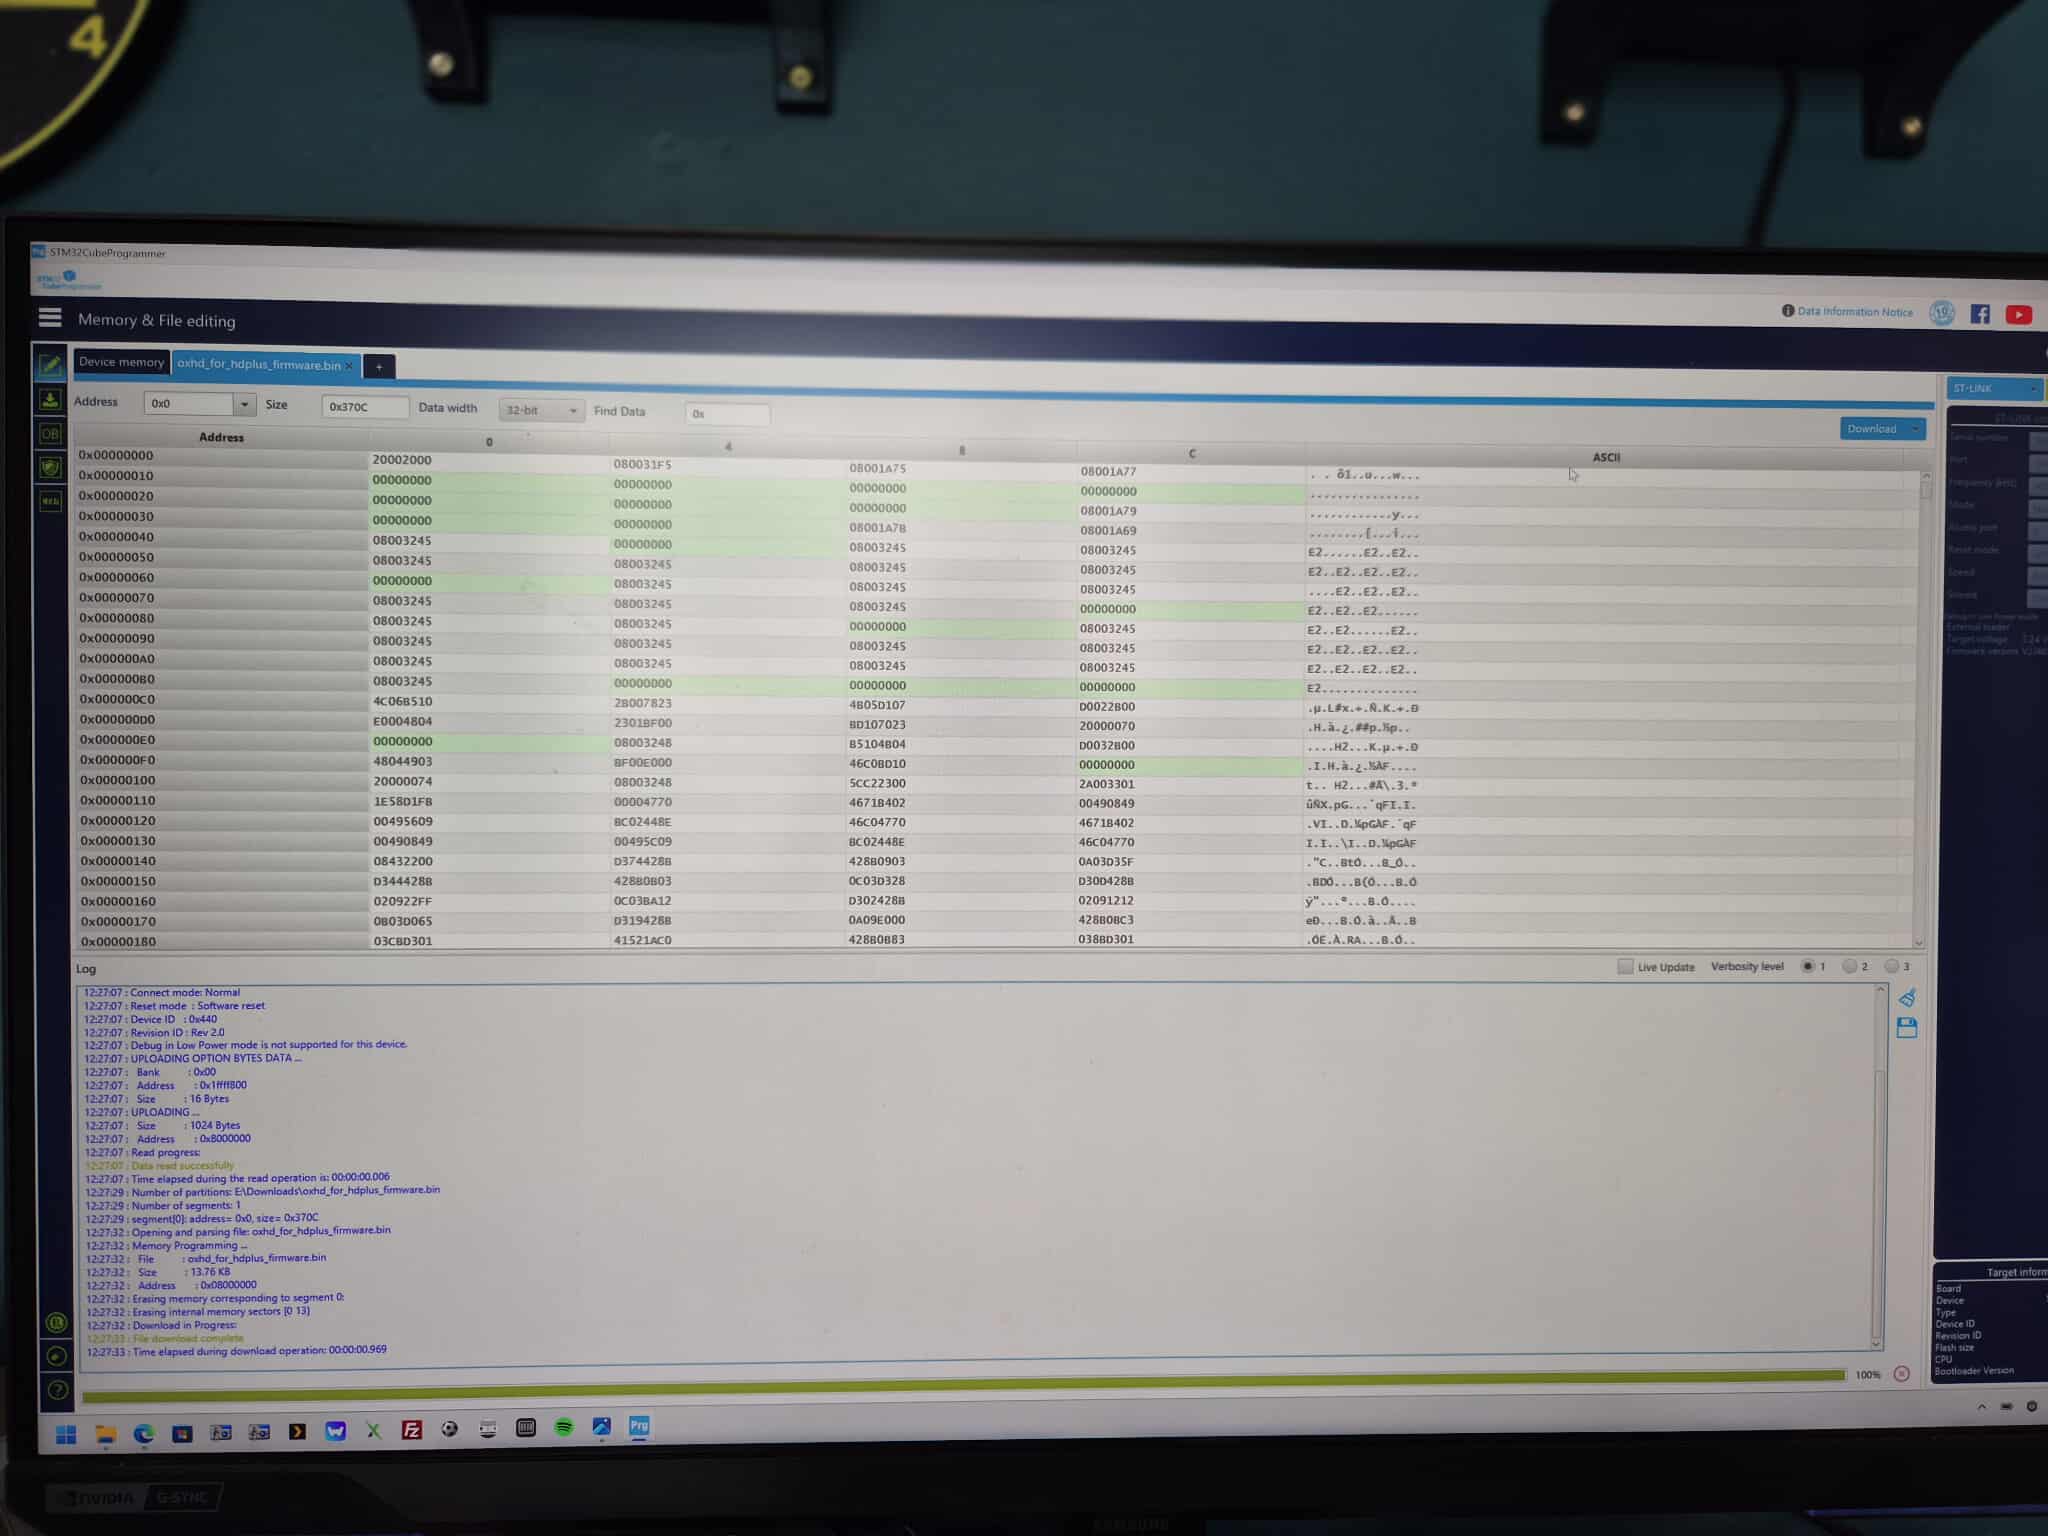
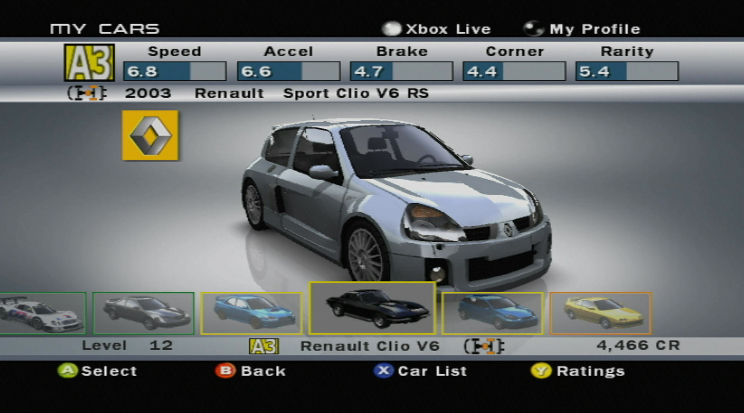
First off i had to figure out the programming port pinout which i did with a multimeterThe STLink V2 hooked up and ready to be flashed. I needed to hook up 3.3v, ground, pa13 (SWDIO) and PA14 (SWCLK), I also had to power the board with 5V. Using STM32CubeProgrammer software I can connect to the board and flash the new firmware.And with the new firmware installed I can enjoy Cerbios 3.0 and Forza Motorsport in all its HDMI glory!
And why not show off a nice Eagle to end this article :)